Photorealistic Exterior Rendering: A Practical Guide to Context, Light and Materials

Joe Sherman · Head of Growth at Gendo
6 August 2026
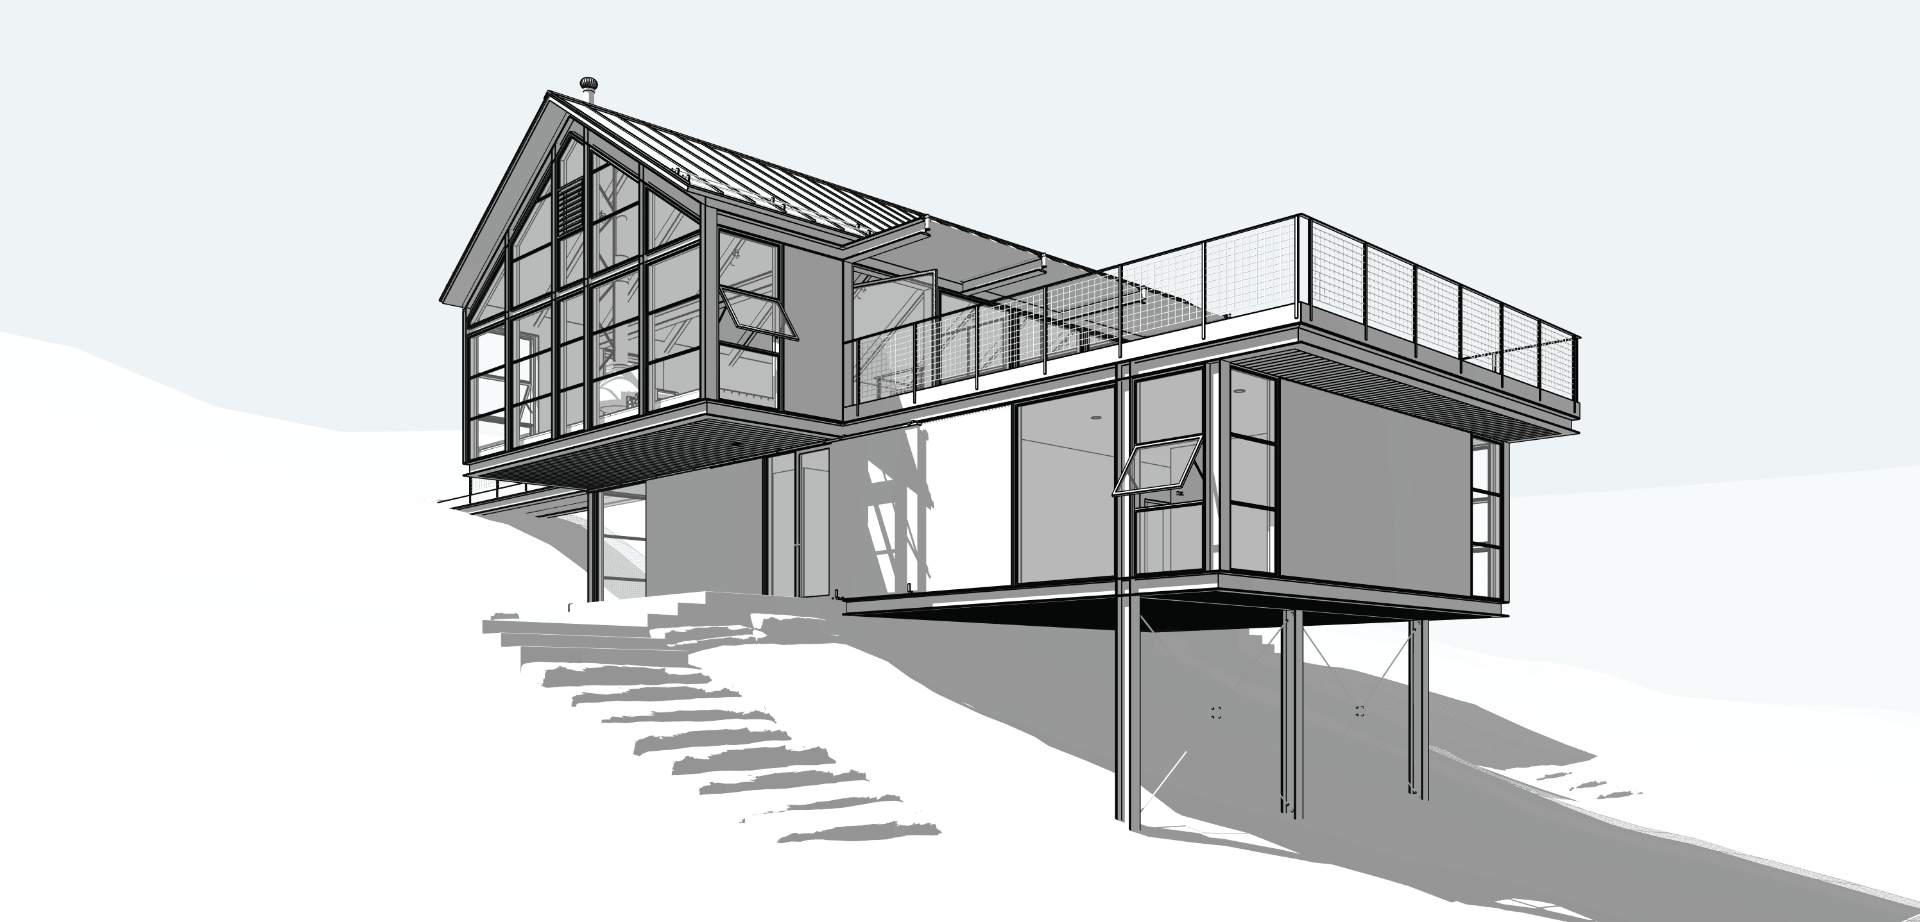
When an exterior render looks distinctly like CGI, you can usually trace it back to a few familiar problems. The camera couldn't exist in the real world. The sky suggests one light source, but the shadows suggest another. Planting looks too perfect, or materials have no sign of wear.
This guide works through those problems and how to address them. The principles apply to V-Ray, Enscape, Lumion and Twinmotion, as well as AI rendering. If you're starting from a basic model, our 3D massing rendering guide covers the model-to-render workflow. Here, we'll focus on what makes the final image convincing.
Start with the camera
Before you adjust materials or lighting, ask whether the view feels like a photograph someone could actually take.
- Eye height: use around 1.5 to 1.7 m for street views. Higher viewpoints should be possible to photograph too, from a window, a drone or a neighbouring building.
- Focal length: wide lenses exaggerate perspective. A moderate focal length, roughly equivalent to 24 to 35 mm on a full-frame camera, usually looks natural for exteriors.
- Vertical lines: keep verticals vertical using two-point perspective, as architectural photographers do with shift lenses.
- Composition: use foreground elements such as trees, street furniture and people to frame the building and give the image depth.
Match the sky and the light
The sky often takes up more of the image than anything else. It also sets the lighting for the rest of the scene, so it needs to do more than look attractive.
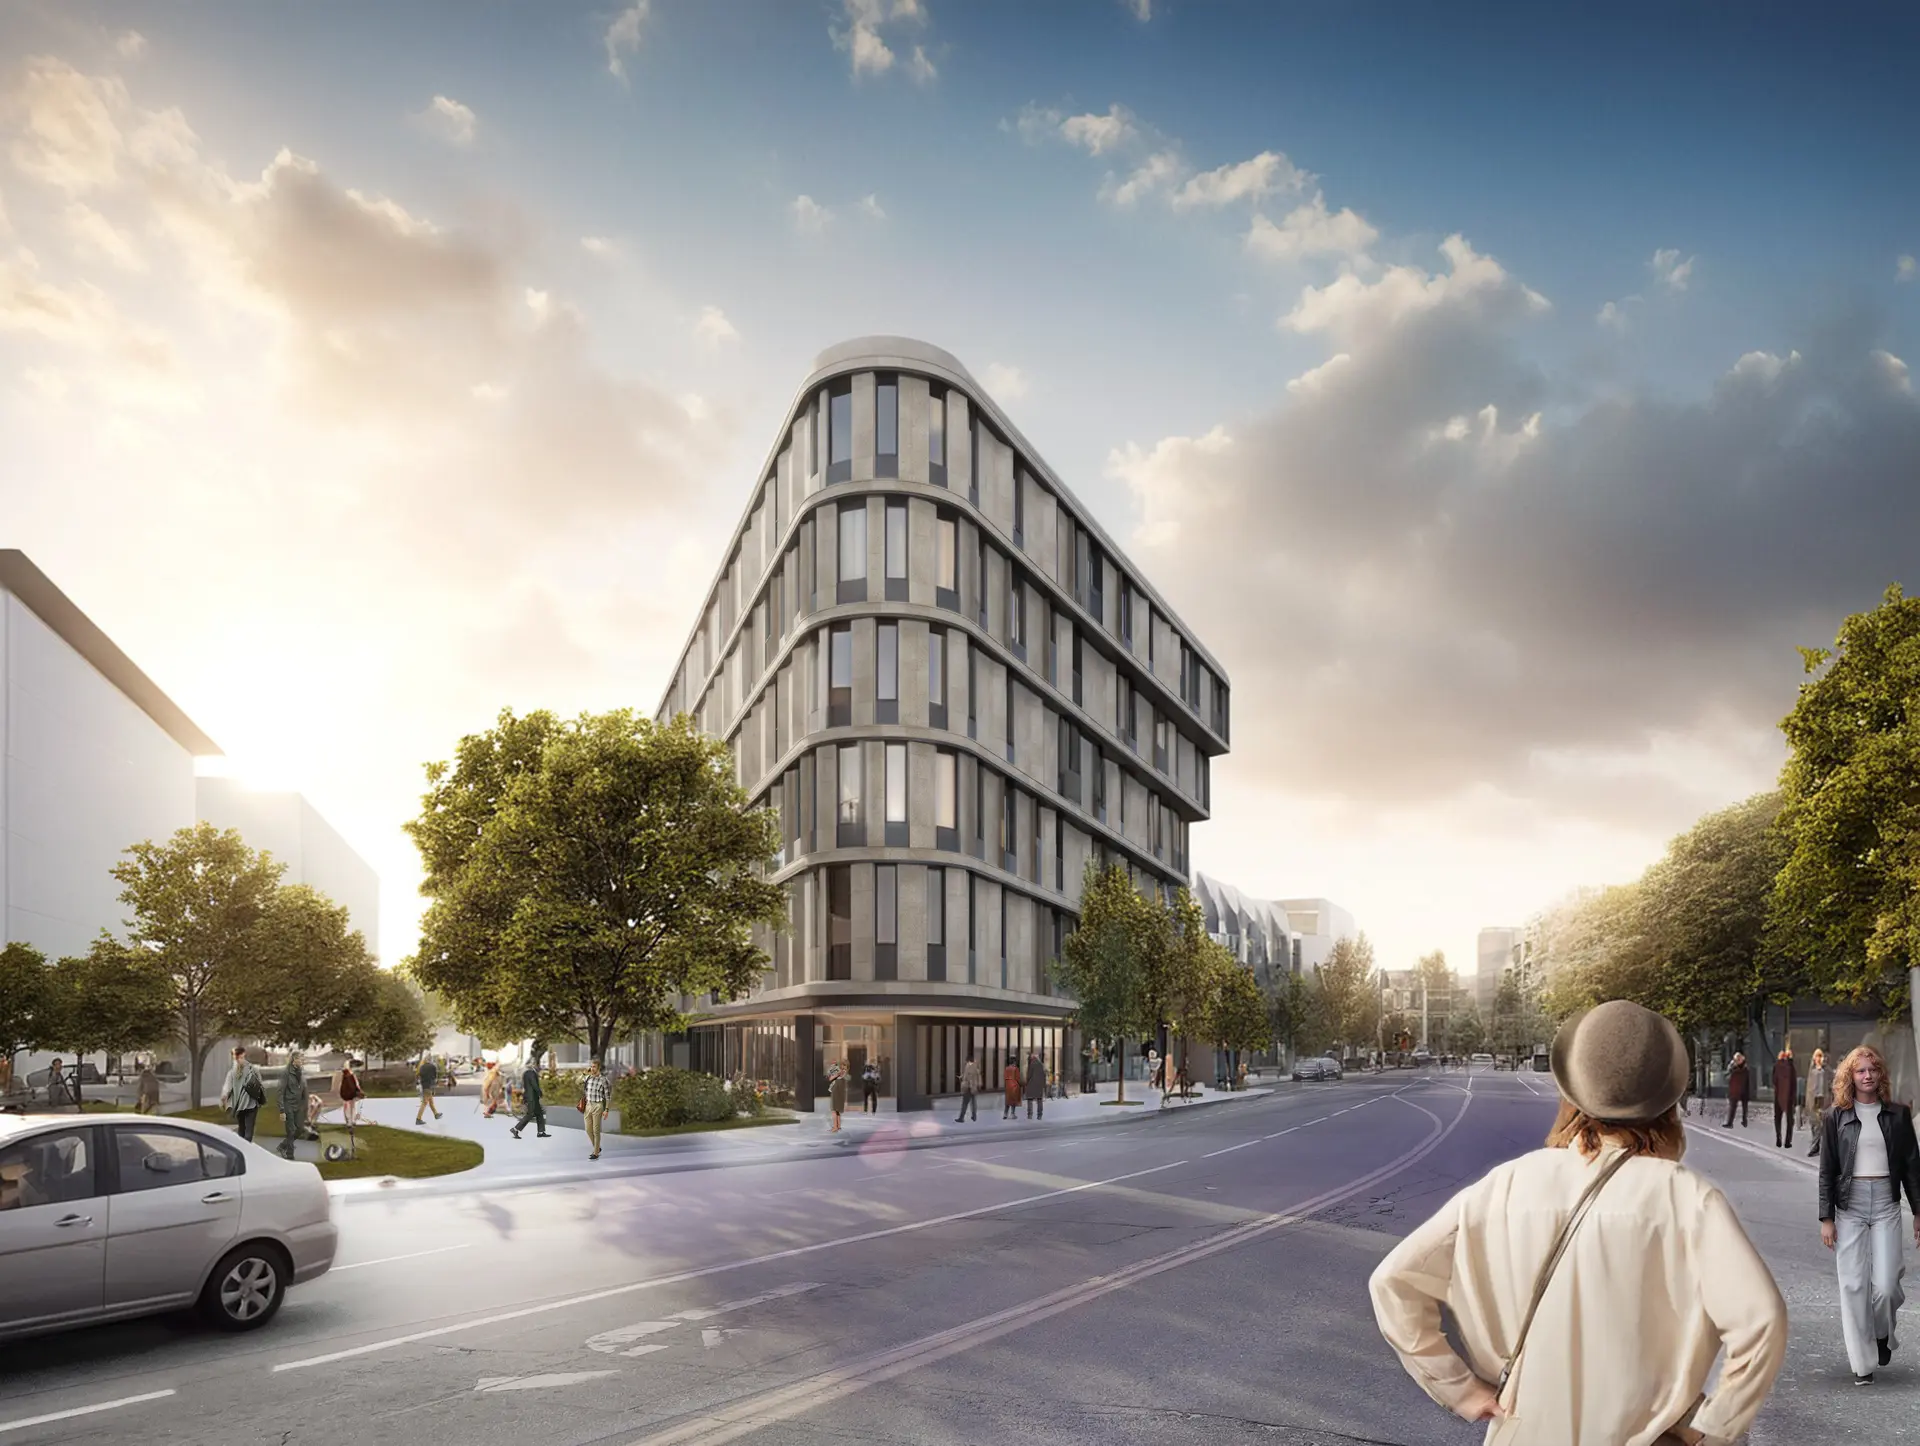
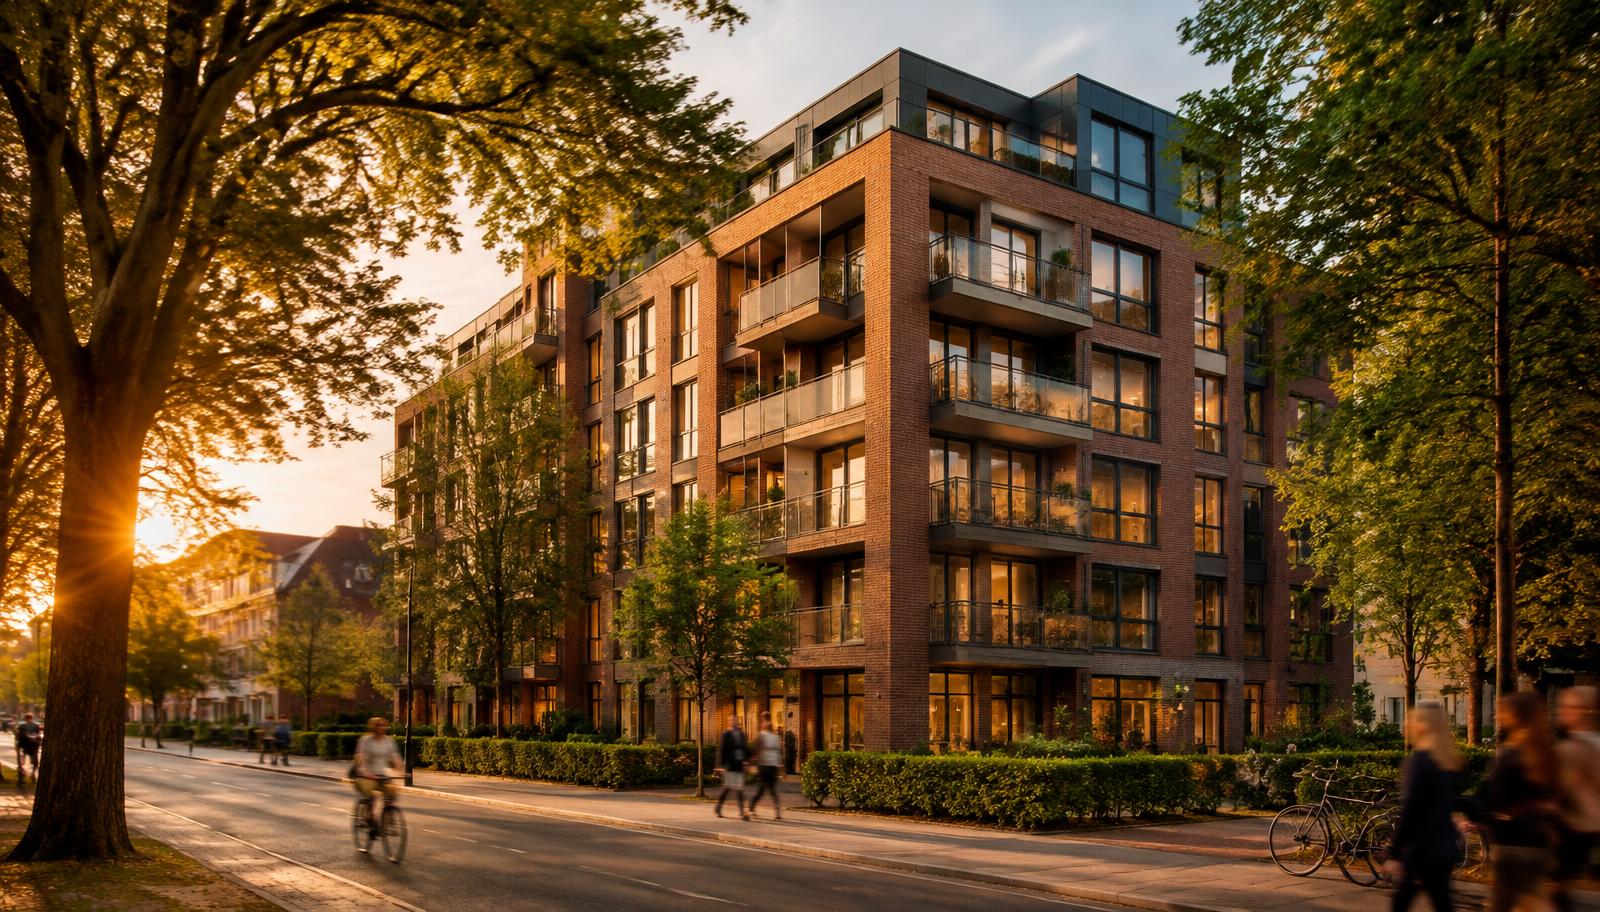
Choose the time of day deliberately. Low sun gives you warmth and long shadows; overcast conditions produce soft, even light that shows materials honestly. Check that the sun direction in the sky matches the shadows on the building.
Use an HDRI sky or a physical sun and sky system rather than a flat backdrop. Our guide to lighting and global illumination explains why indirect light matters so much for realism.
Build real context
A building in a void rarely feels real. The surroundings help you understand where it sits and how it relates to its site.
Use site photographs, surveyed or mapped massing of neighbouring buildings, and the real street layout. Keep the scale and level of detail consistent between your main building and its neighbours. Highly detailed context beside a simple model can give the image away, just as a detailed building surrounded by crude context can.
Don't leave out the street itself: kerbs, road markings, drainage, signage and lamp posts all belong in the scene.
For planning images, context must be accurate. Don't omit inconvenient neighbours or overstate the planting.
Planting and landscape
Repeated, identical trees are an obvious sign of a render. Vary species, sizes and spacing, and show planting at a realistic age for the point in time your image represents.
Pay attention at ground level too. Grass edges, leaf litter and variation between lawn and paving help the planting feel part of the site rather than something placed on top. Keep the season consistent across the trees, grass and sky.
For landscape-led schemes, see our comparison of landscape design software.
Materials that look built, not modelled
Materials need to make sense at the scale of the building, not just look good in isolation.
- Scale: check brick coursing, board widths and panel joints against the building. They need to be the right size.
- Variation: real brick, stone and timber vary in tone. Uniform tiling patterns tend to read as CGI.
- Imperfection: introduce subtle weathering, staining at drips and sills, and dirt at ground level.
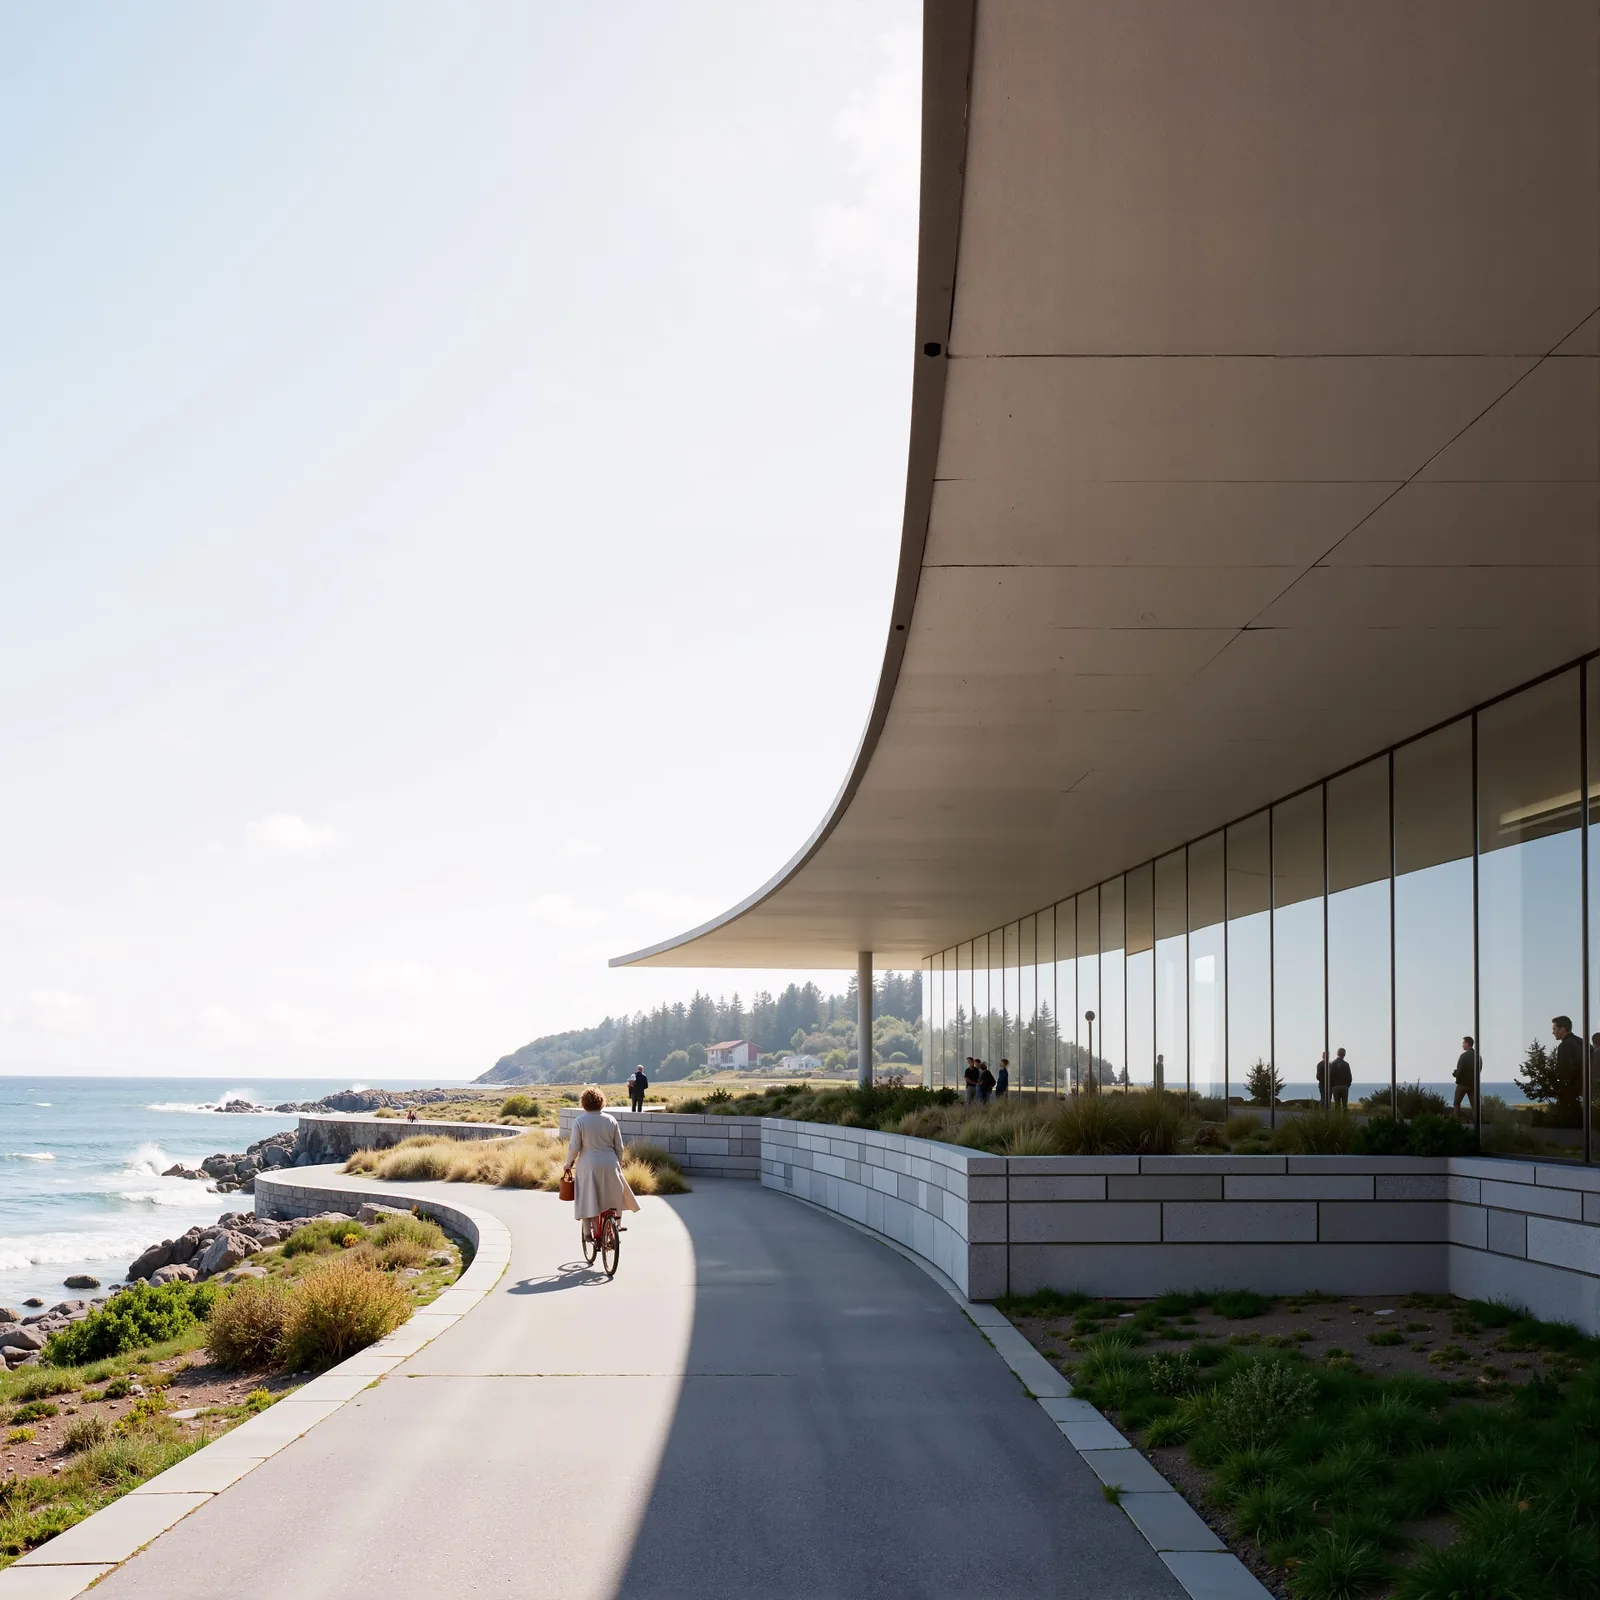
- Reflection: glazing should reflect the surrounding context, not a generic sky, and let you see some of the interior.
Our guide to texture mapping explains how materials are set up in a render.
People, vehicles and life
People give the building scale and help explain how it will be used. Choose figures whose clothing suits the season and context, then light them to match the scene. Avoid crowding the foreground.
Gendo's cut-out people library and Quick Populate are built for this step.
Post-production
A strong raw render still benefits from careful finishing. Keep the adjustments restrained:
- Use gentle colour grading to give a set of images a consistent mood.
- Add atmospheric depth with slight haze that increases with distance.
- Apply subtle vignetting and lens effects sparingly.
- Check the finished image for stretched textures, floating objects and mismatched shadows.
Getting to photorealism with AI
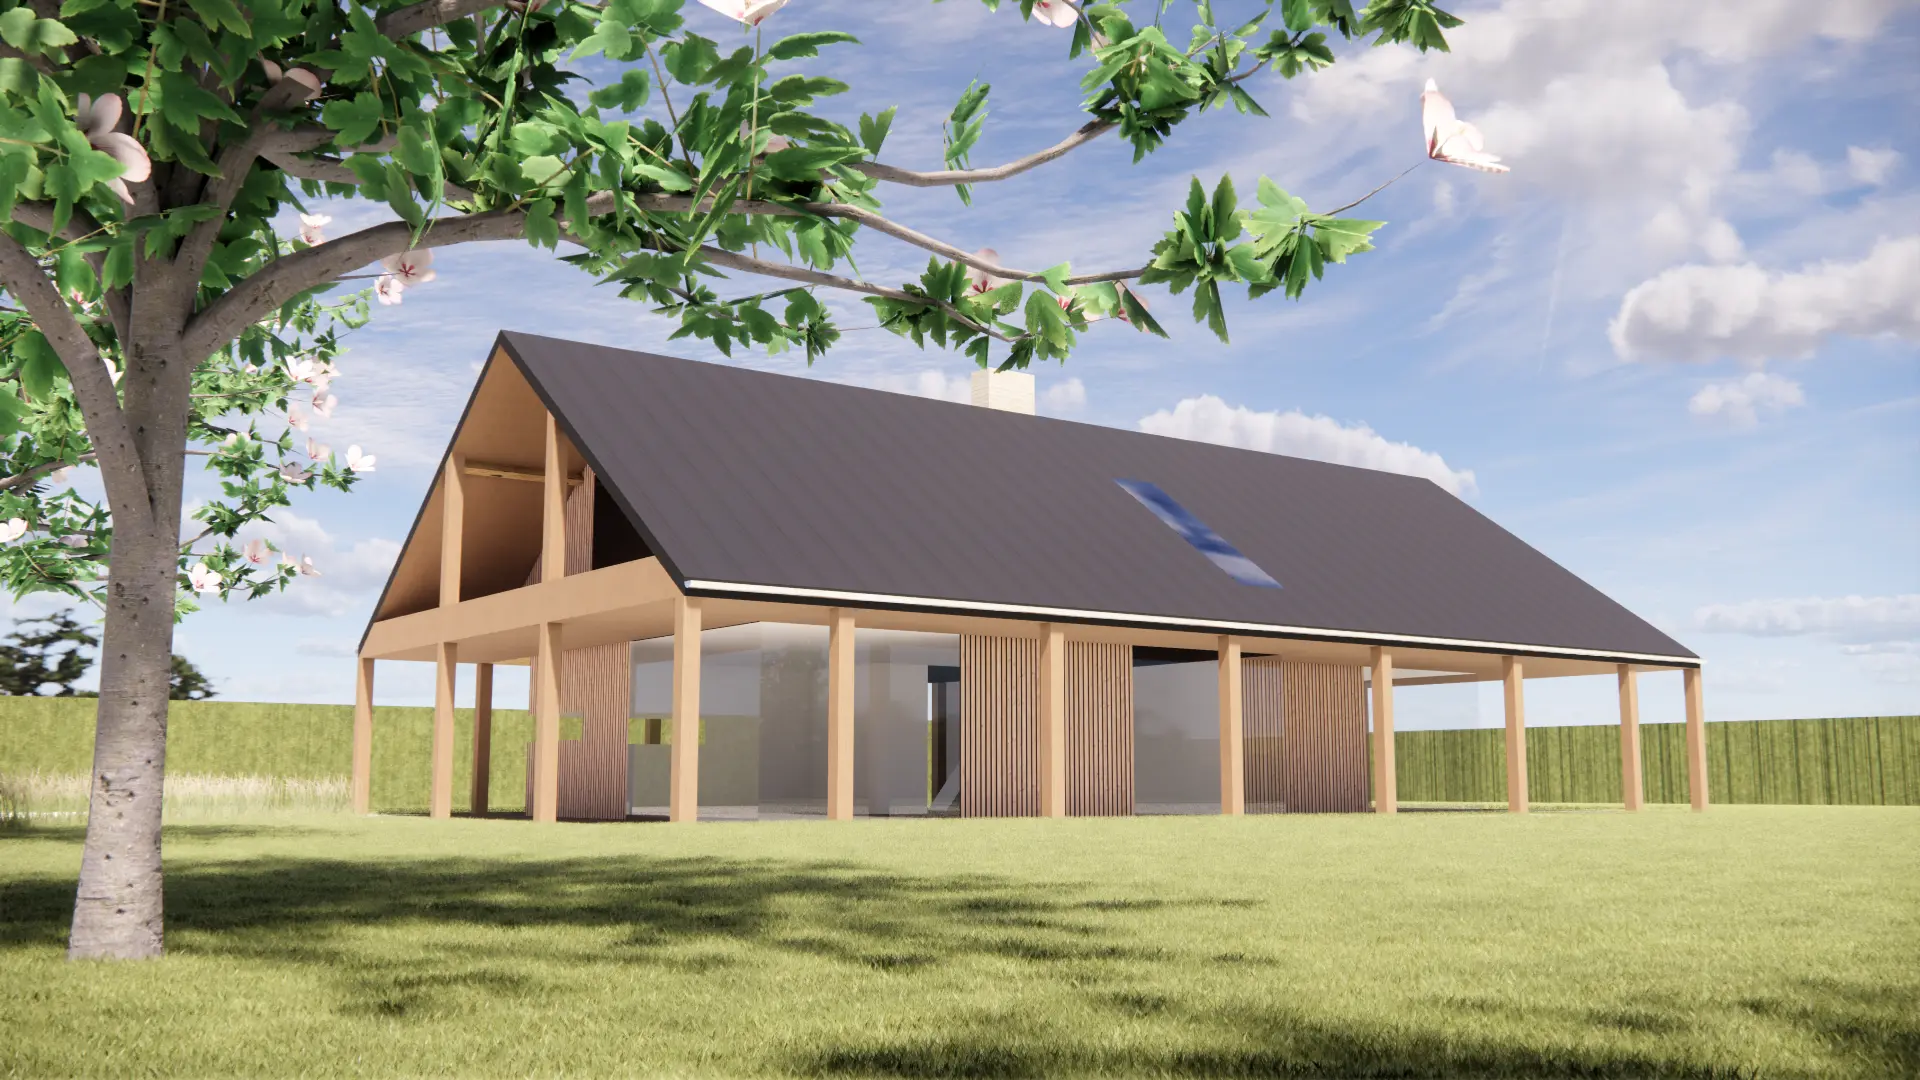
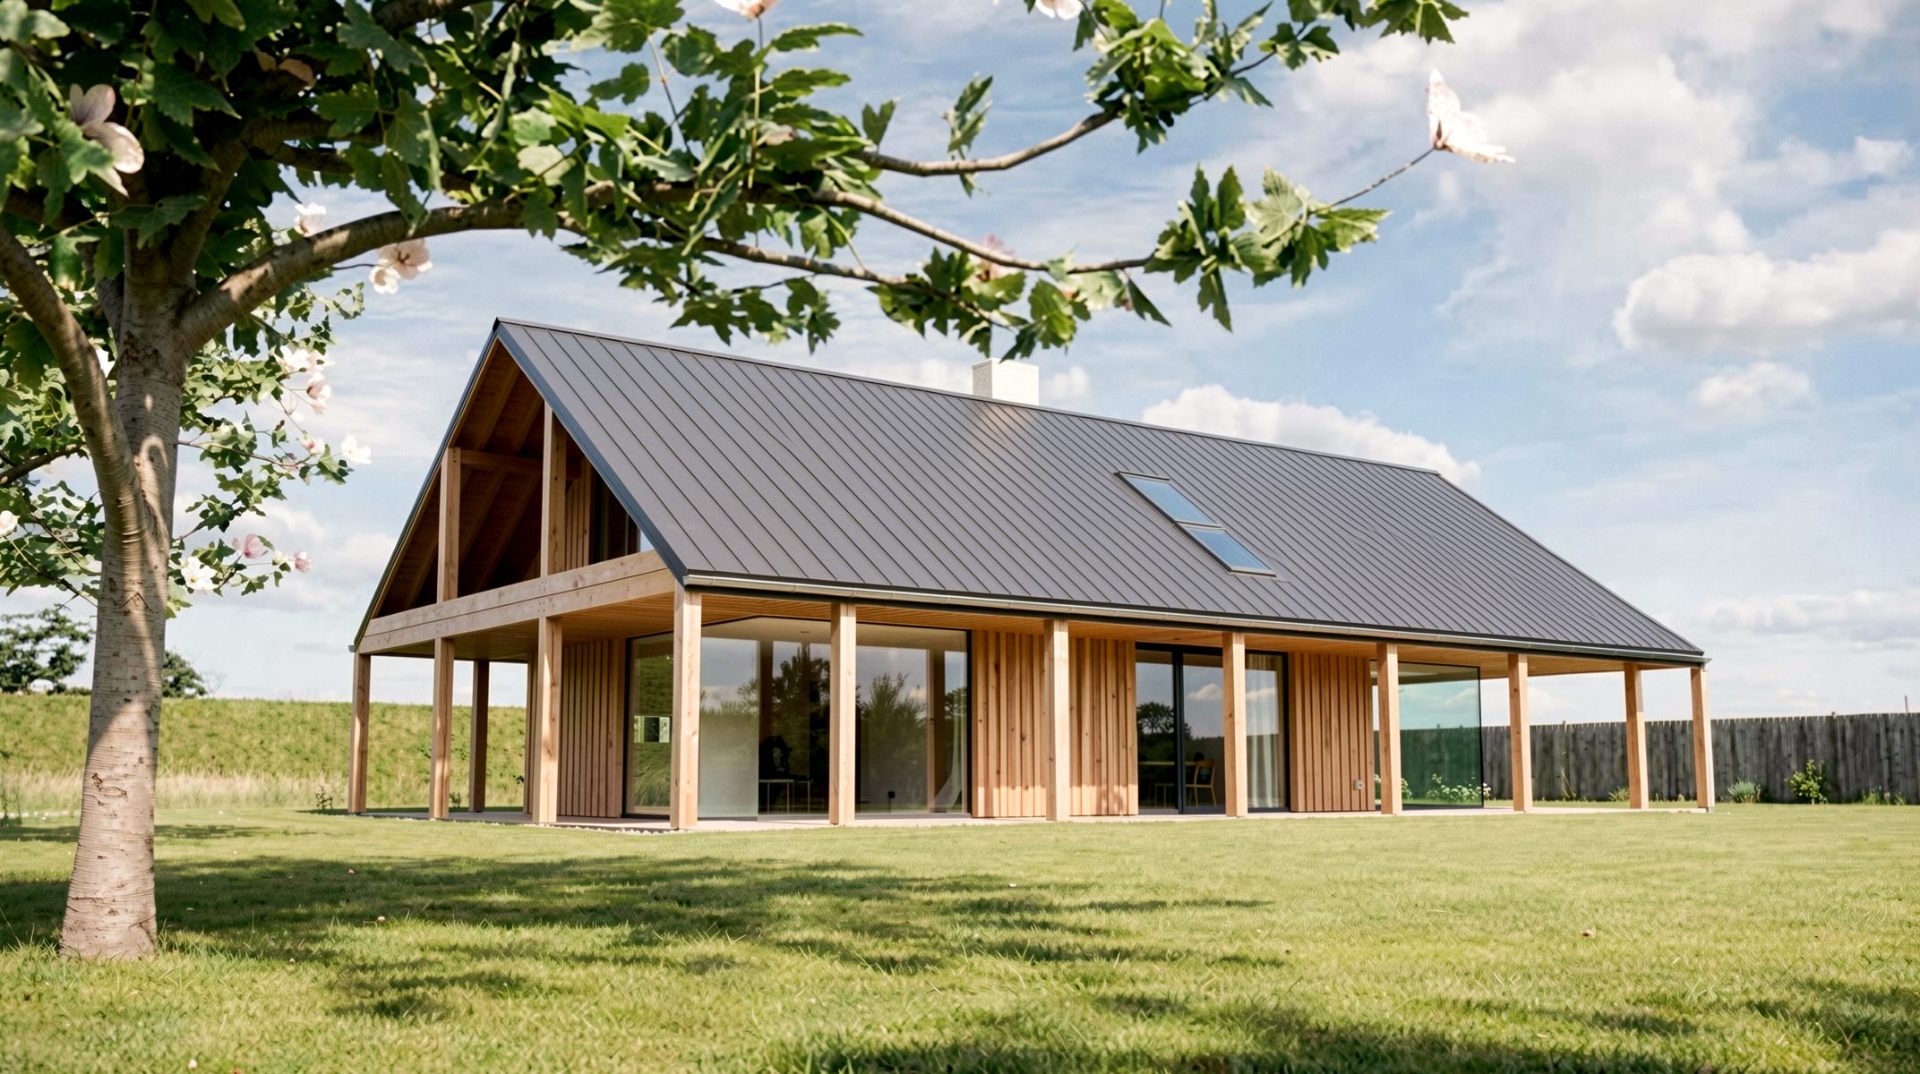
AI rendering takes a different approach. The model has learned what real architectural photography looks like and applies that to your input image. It handles many of the elements discussed above, including sky, light, planting, weathering and people, without manual set-up.
Your input still drives the result, though. The camera, geometry and instructions you provide matter.
- Set the camera in your model first. AI follows the composition you give it.
- Provide enough geometric information, with clear edges, openings and material zones.
- Describe the time of day, weather, season and materials precisely in your prompt, or use a reference image.
- Iterate from the original source rather than the last output to avoid drift. This is how the Gendo canvas works.
- Upscale and enhance your chosen option before presenting it.
Frequently asked questions
What is photorealistic rendering?
It's rendering that aims to be indistinguishable from a photograph, with accurate light, materials, context and camera behaviour.
What makes an exterior render look realistic?
Start with a believable camera position and light that matches the sky. Real context, varied planting and materials with the right scale and subtle imperfections all contribute, along with careful post-production.
What is the best focal length for exterior renders?
A moderate focal length, roughly 24 to 35 mm full-frame equivalent, generally looks natural. Very wide lenses distort the building.
Can AI produce photorealistic exterior renders?
Yes. AI tools can produce photorealistic exteriors from sketches, model exports or photos. Check the outputs carefully for changes to geometry before using them for planning or client sign-off.
How long does an exterior render take?
A traditional exterior render can take days once you include modelling, context, revisions and post-production. AI tools generate options in minutes from an existing view.