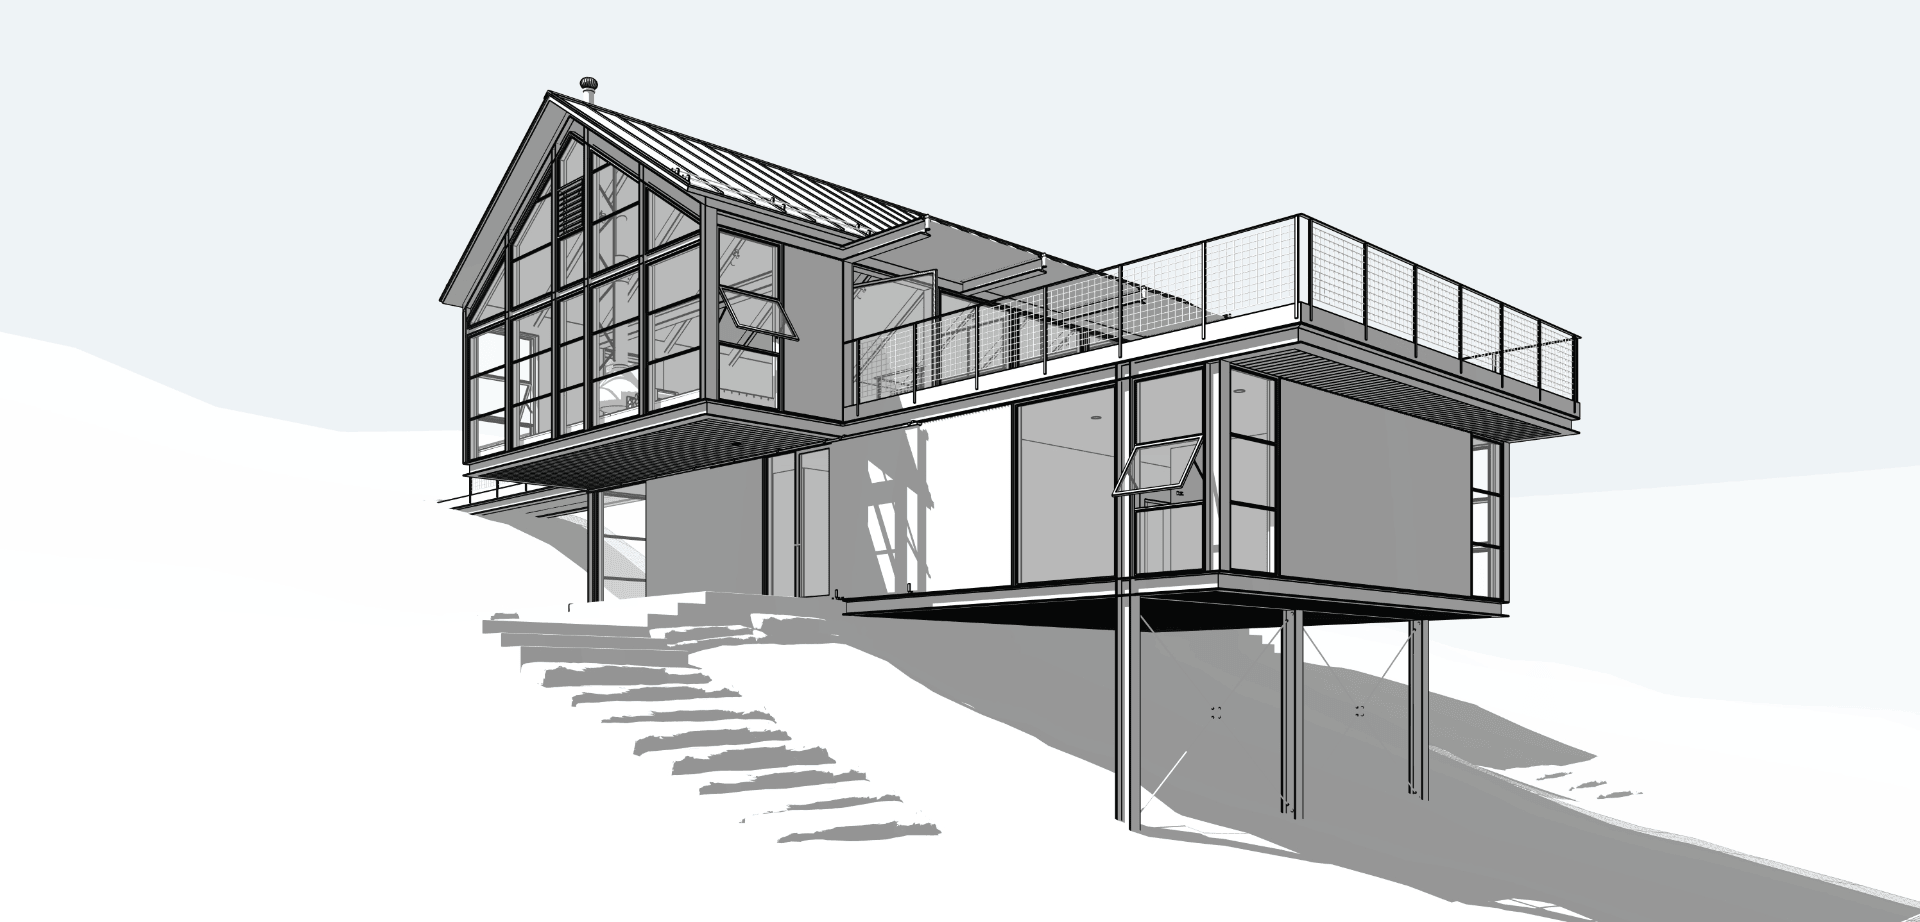
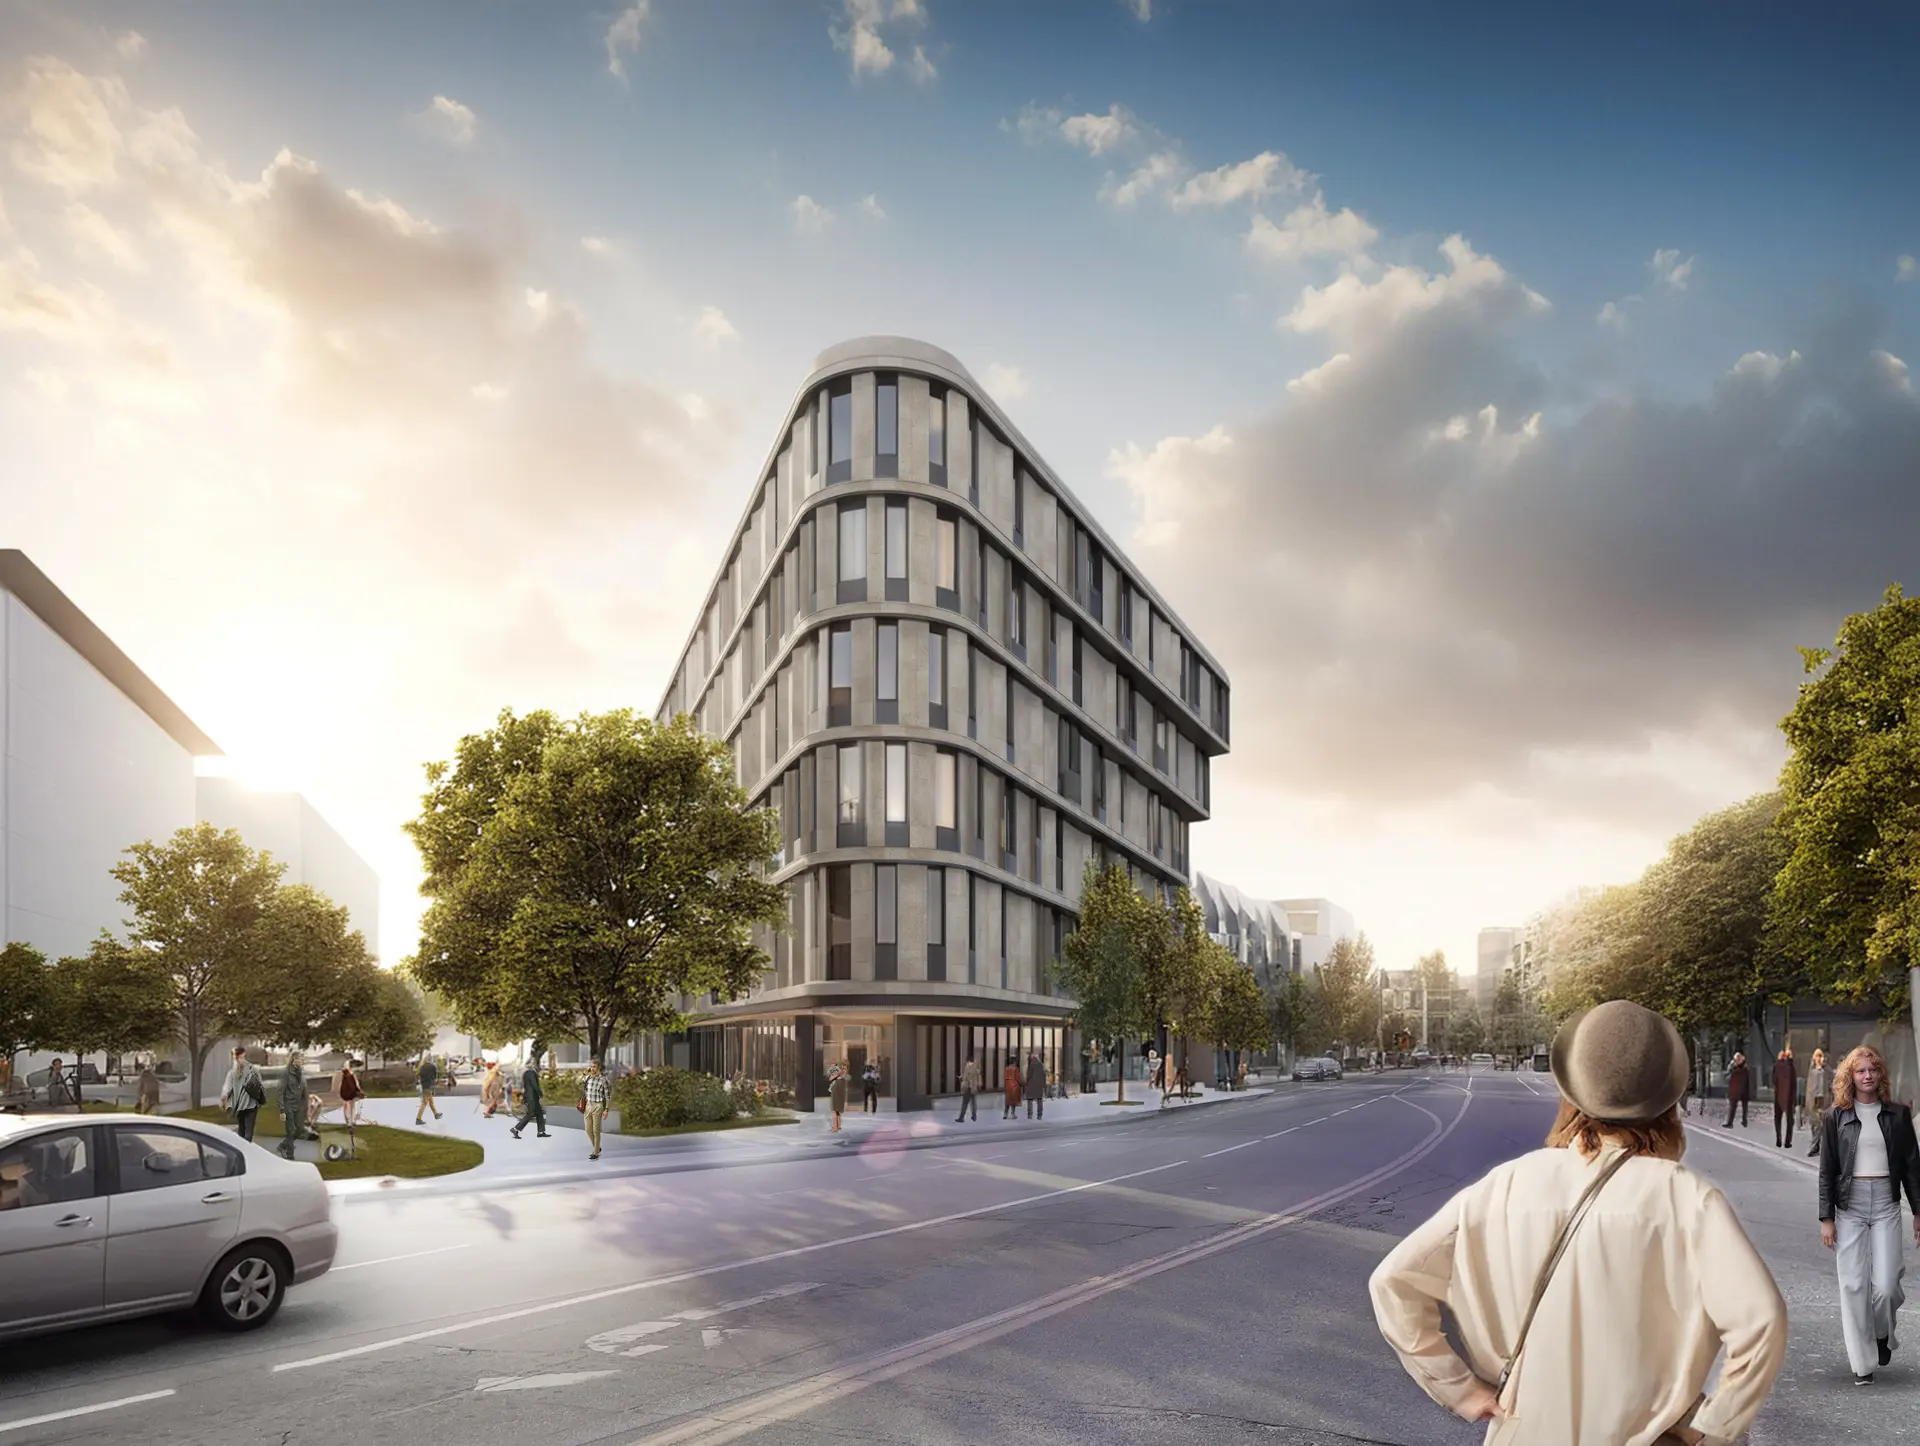
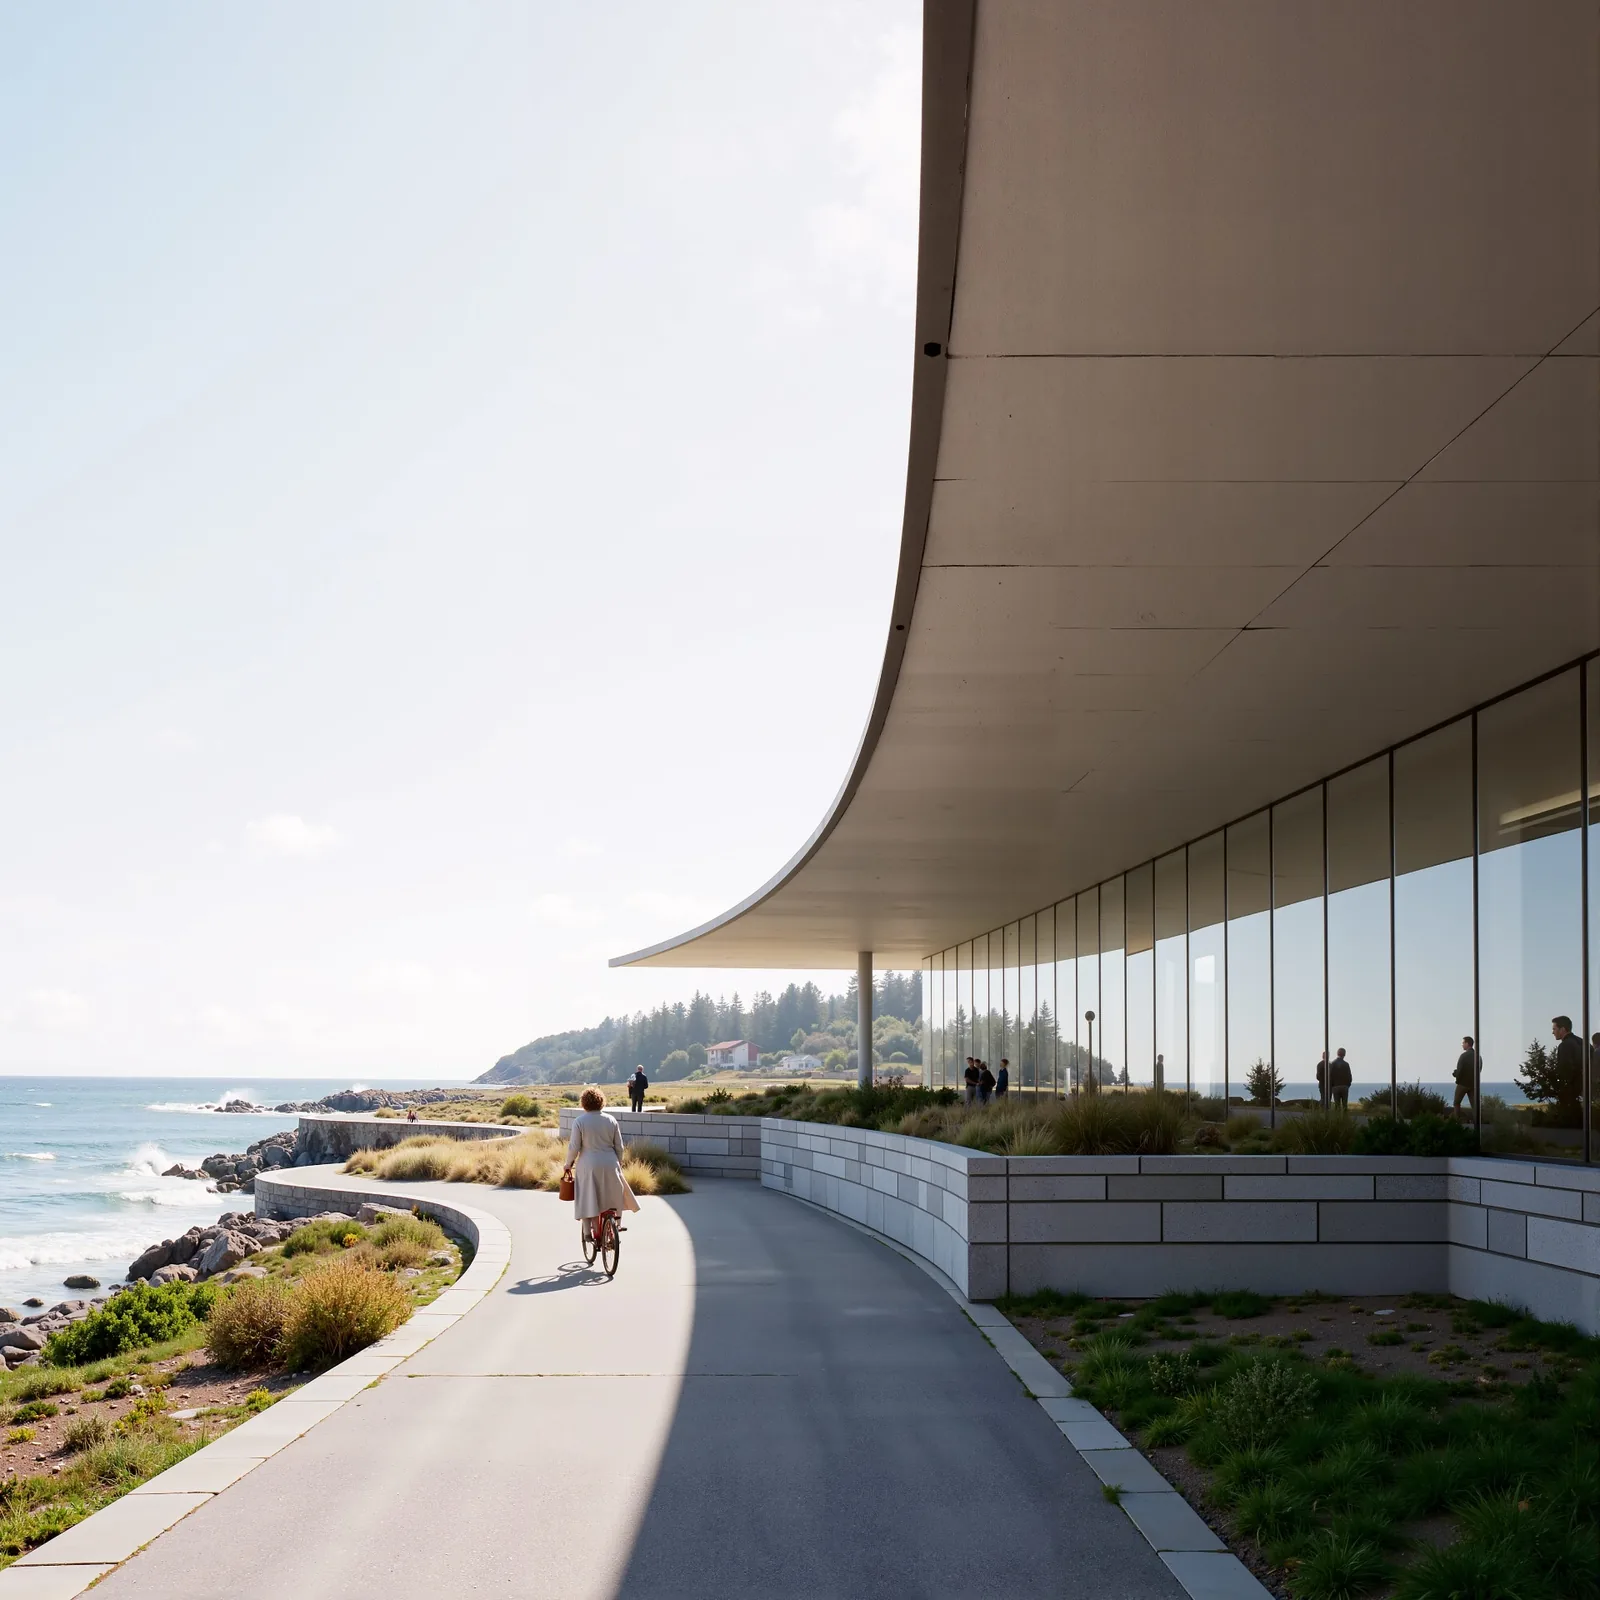
3D Massing Rendering AI: Blockouts to Photorealistic Renders

Joe Sherman
20 June 2026
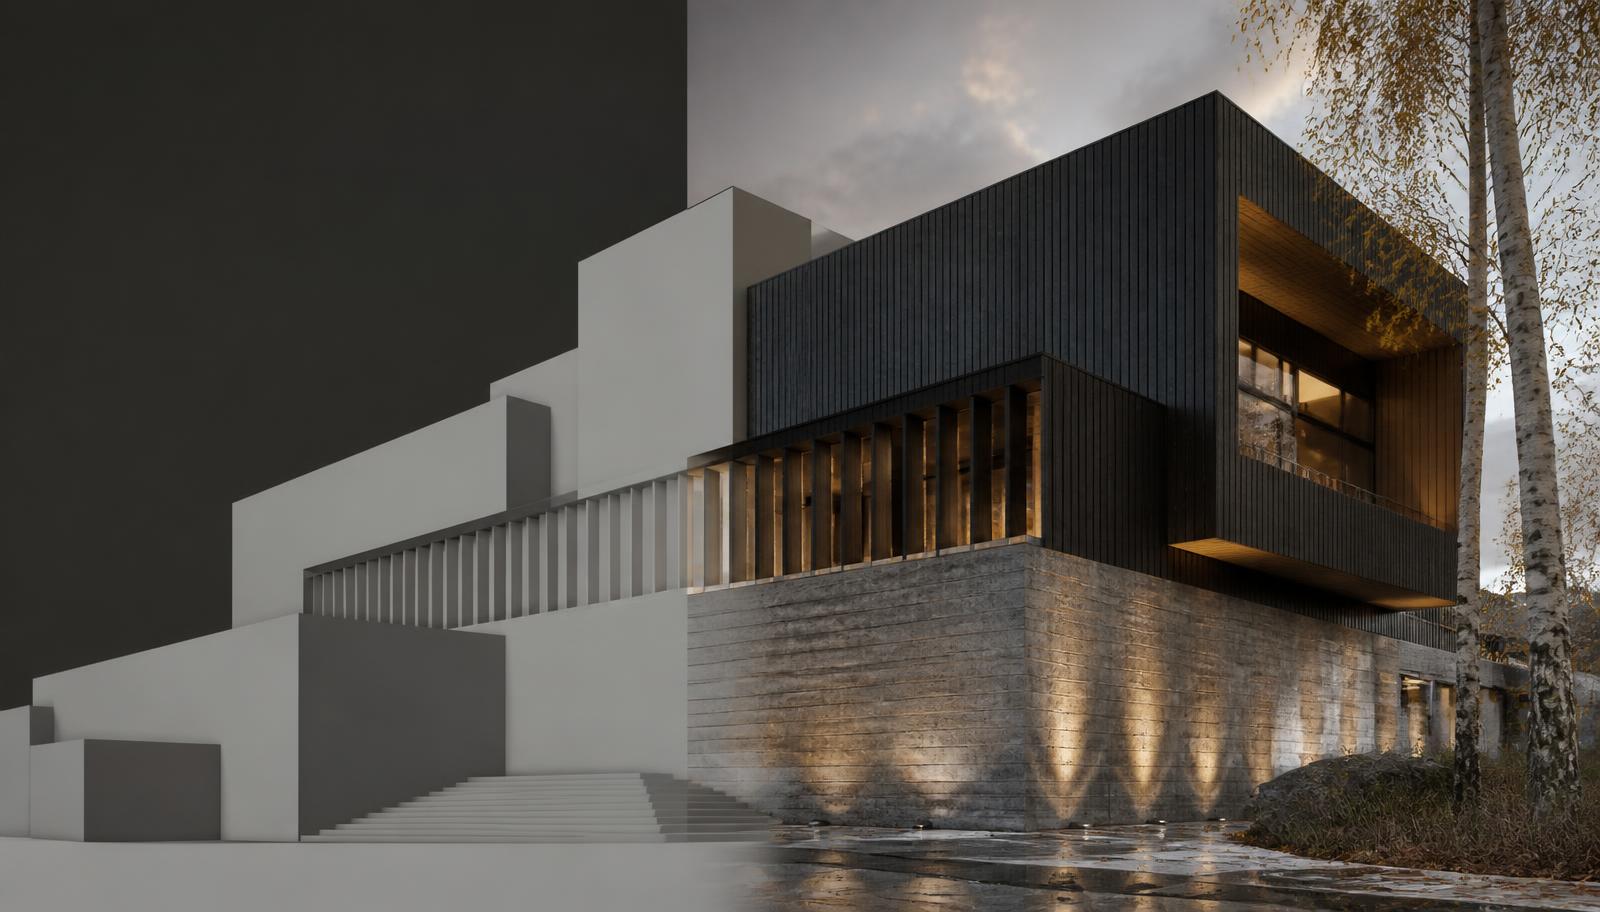
You have a bare massing blockout sitting in Rhino or Revit. Clients need to see where the project is heading, but nobody on the team has three days to dress a scene with entourage, tune lights and babysit a sluggish render queue.
Gendo was built around that bottleneck. The collaborative Canvas takes raw viewport captures, basic spatial volumes and schematic layouts and converts them into photorealistic renders in seconds, while holding your geometry and design intent in place.
By 2026, generative workflows stopped being parlour tricks. Studios use 3D massing AI to test material palettes, evaluate site lighting and walk clients through spatial options live during concept reviews.
Turning basic massing models into photorealistic renders
Architectural AI reads wireframes and depth maps rather than calculating every photon. Generative models, trained on architectural photography, interpret structural edges, depth cues and volume boundaries to paint over a basic blockout.
Legacy engines calculate light bounces across millions of textured polygons. AI takes a different route. By reading your camera angle, surface planes and spatial limits, the model uses text prompts and reference images to synthesise materials, daylight, landscaping and atmospheric depth directly across the geometry.
With Gendo, teams drop rough sketches or 3D blockouts onto the multiplayer Canvas and use AI architecture tooling to generate accurate materials, weather conditions and site context over the massing.
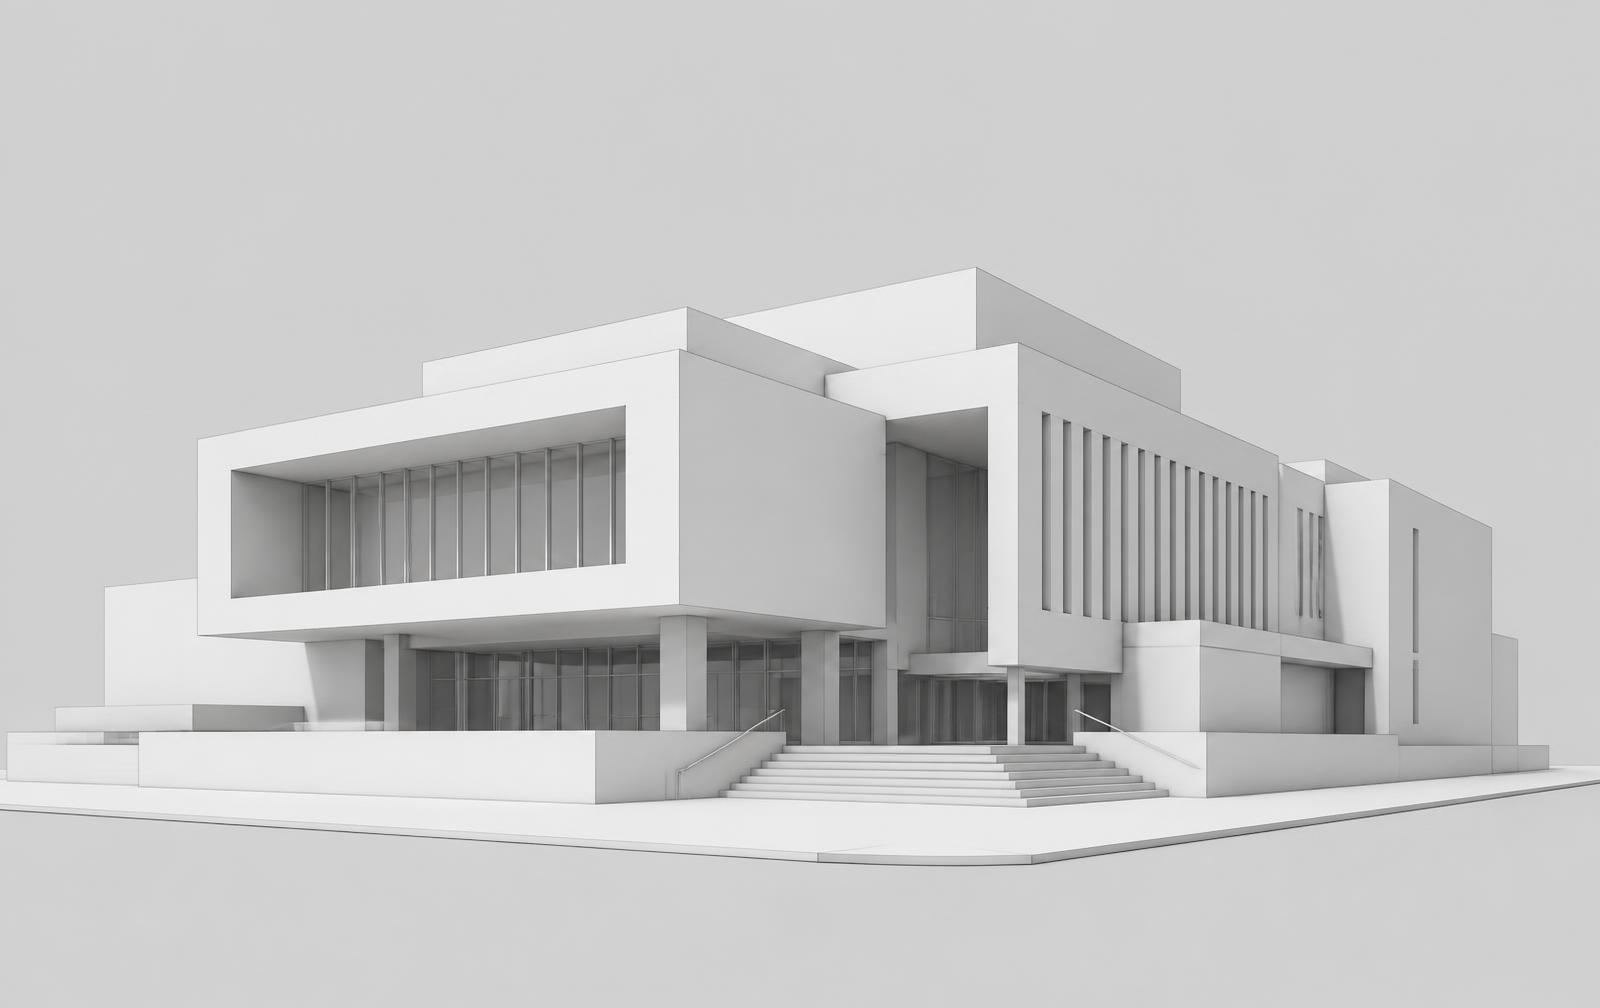
What AI rendering does with 3D geometry
AI produces 3D-derived renders without the mechanical overhead of a traditional rendering pipeline. Conventional engines demand explicit geometry, UV-unwrapped textures and manual lighting rigs, then calculate light physics.
AI works from 2D projections of your 3D volume instead, reading depth passes, normal maps and viewport screenshots. It understands how sunlight hits concrete, or how glass reflects an overcast sky. Studios get presentation-grade visuals from crude geometric volumes in seconds rather than spending three days setting up shaders.
Practical uses for AI renders in practice
Practices use AI rendering across early concepts, schematic design and client presentations:
- Accelerate concept development: test dozens of massing, facade and fenestration options in minutes.
- Run real-time client workshops: modify materials, landscaping and lighting conditions live in the meeting.
- Reduce visualisation outsourcing: non-specialists can produce presentation imagery directly from conceptual blockouts.
- Streamline early planning review: communicate scale, daylighting and contextual fit before detailed BIM modelling.
This does not replace late-stage BIM documentation or code-mandated daylight simulation. It drives early visual decisions.
Massing to presentation render in three steps
You do not need shader networks or painstaking asset scattering to get a clean visual out of a rough blockout.
Step 1: Viewport setup in your modelling software
The base CAD or BIM camera dictates the quality of the final image:
- 1.Set the perspective: switch off parallel projection and lock a two- or three-point perspective. Keep focal length between 35mm and 50mm, or a 50 to 60 degree field of view.
- 2.Fix the eye level: around 1.6m to 1.8m from ground level for pedestrian views. Aerial massing studies work best at a 30 to 45 degree downward angle.
- 3.Define mass boundaries: keep volumes clean. Skip window frames and balustrades, but keep floor plate steps, setbacks and roof pitches accurate, as these carry the design intent.
- 4.Export the image: a high-contrast PNG or JPEG with flat monochrome or simple solid fills across separate volumes.
Step 2: Dropping massing passes into Gendo
The quickest route in is a screenshot. Frame the massing in your modelling viewport at the camera angle you want to present, hide any clutter you do not need, then capture the view: Shift + Command + 4 on macOS, Windows key + Shift + S on Windows, or your modeller's own viewport capture. Save as PNG or JPEG, keep it at the largest size your screen allows, and drag it straight onto the Canvas — no export settings, no file conversion, no plugin.
From there the base geometry sits in front of the whole team at once, so design leads, visualisers and project architects can run parallel render branches side by side without trading email attachments or losing version history across disconnected folders.
Step 3: Guiding finishes, light and context
Once geometry sits on the Canvas, steer generation with disciplined architectural prompts and reference images. Structure prompts around four layers: typology and geometry, primary facade materials, lighting and atmosphere, then surrounding site and landscape.
Example prompt: "Contemporary civic cultural centre, modular massing with cantilevered upper volume, board-formed concrete base, vertical charred timber slats and low-iron curtain wall glazing, soft golden hour sunlight, wet reflective stone plaza with native birch trees and subtle pedestrian movement, architectural photography style."
This is the same discipline covered in our guide to AI-assisted design workflows.
Can AI rendering keep base geometry intact?
Consumer image models mutate clean CAD inputs. They curve straight columns, shift parapet lines and invent window openings that ruin spatial intent. Architectural platforms stop that drift by anchoring generation to source edges, depth maps and real volumetric boundaries.
Locking massing while running variations
Gendo was built around architectural precision. You hold volumetric envelopes, floor-to-floor alignments and camera views in place while the team tests cladding options and lighting setups across parallel branches. Because the output honours the base massing, every image you take into a client presentation reflects a buildable scheme.
| Characteristic | General consumer AI | Gendo Canvas |
|---|---|---|
| Volumetric boundary locking | Alters shapes | Preserves envelope |
| Fenestration alignment | Unconstrained drift | Strictly maintained |
| Camera perspective | Distorts angles | True to CAD viewport |
| Material swaps | Whole-image repaint | Targeted surface swap |
| Team iteration | Single-user chat | Multiplayer Canvas |
Keeping fenestration and building edges clean
- Use high-contrast edge passes: turn on hidden line mode or ambient occlusion when exporting from Rhino or SketchUp so plane boundaries read crisply.
- Keep prompts concrete: describe materials and sky conditions rather than asking the engine to rework typology, which tempts it to override your massing.
- Isolate surfaces: swap specific finishes on designated planes instead of repainting the whole frame.
Supported CAD formats and modelling tools
Most studios juggle several modelling tools. AI rendering bridges them by accepting simple viewport exports and linework passes without breaking your existing pipeline.
| Modelling software | Recommended input | Primary use case |
|---|---|---|
| Trimble SketchUp | 2D viewport export (PNG) | Early volumetric and massing studies |
| Autodesk Revit | Viewport or shaded 3D view | BIM massing and planning envelopes |
| Rhinoceros 3D | Viewport capture or linework | Parametric and complex geometry |
| Graphisoft Archicad | 3D window snapshot (PNG) | Conceptual spatial blockouts |
| Autodesk 3ds Max | Viewport render or clay pass | Detailed early-stage staging |
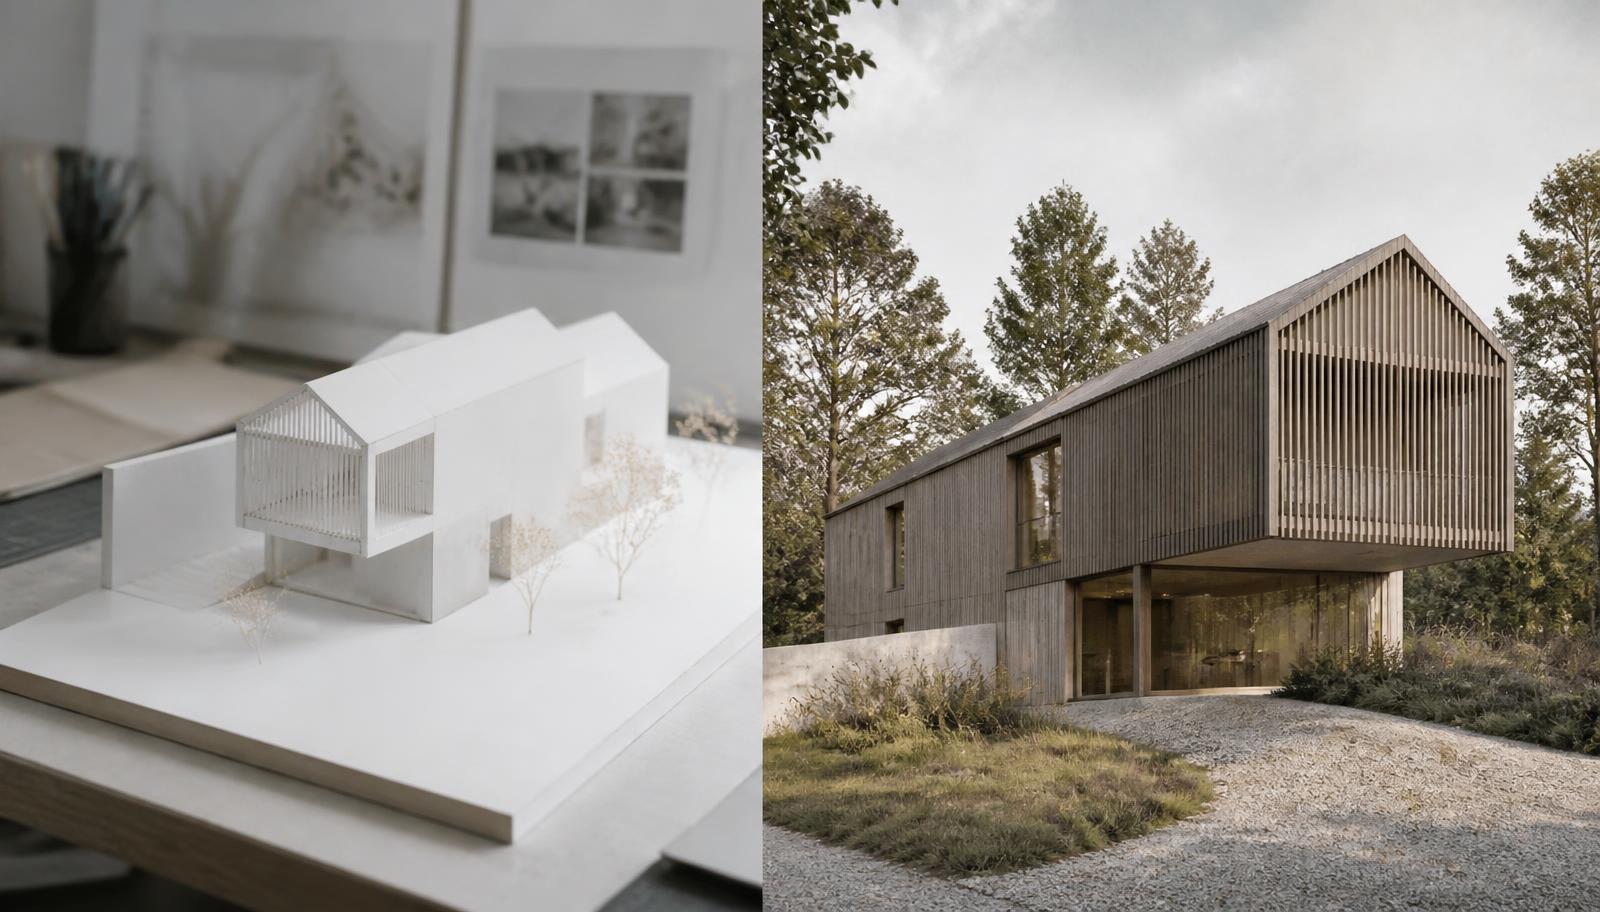
Working from trace sketches and physical study models
Early concepts rarely start in CAD. Some begin on yellow trace. Others take shape as blue foam or cardboard on the studio workbench.
- Hand sketches: photograph a trace overlay or iPad sketch and run it through sketch to render. The model reads your perspective and linework, applying realistic facade materials and depth over the drawing.
- Physical study models: photograph a foamcore massing study on your desk. Gendo reads the lighting and volumetric boundaries and converts it into a context-aware architectural view in minutes.
Controlling light, context and materials
Separate surface finishes from ambient lighting if you want reliable visual control. It lets you change the sky or swap a cladding finish independently while the geometry stays fixed.
Swapping facade materials and matching styles
Clients ask for finish variations mid-meeting. What if the rainscreen were zinc rather than limestone? How does a timber brise-soleil change the facade rhythm?
Gendo pairs material swap and style-transfer tools with prompt generation, so you can pick out individual bays or volumes and test corten steel, fluted glass, terracotta panels or off-shutter concrete without rebuilding CAD textures or re-rendering from scratch.
Daylight, golden hour and dusk
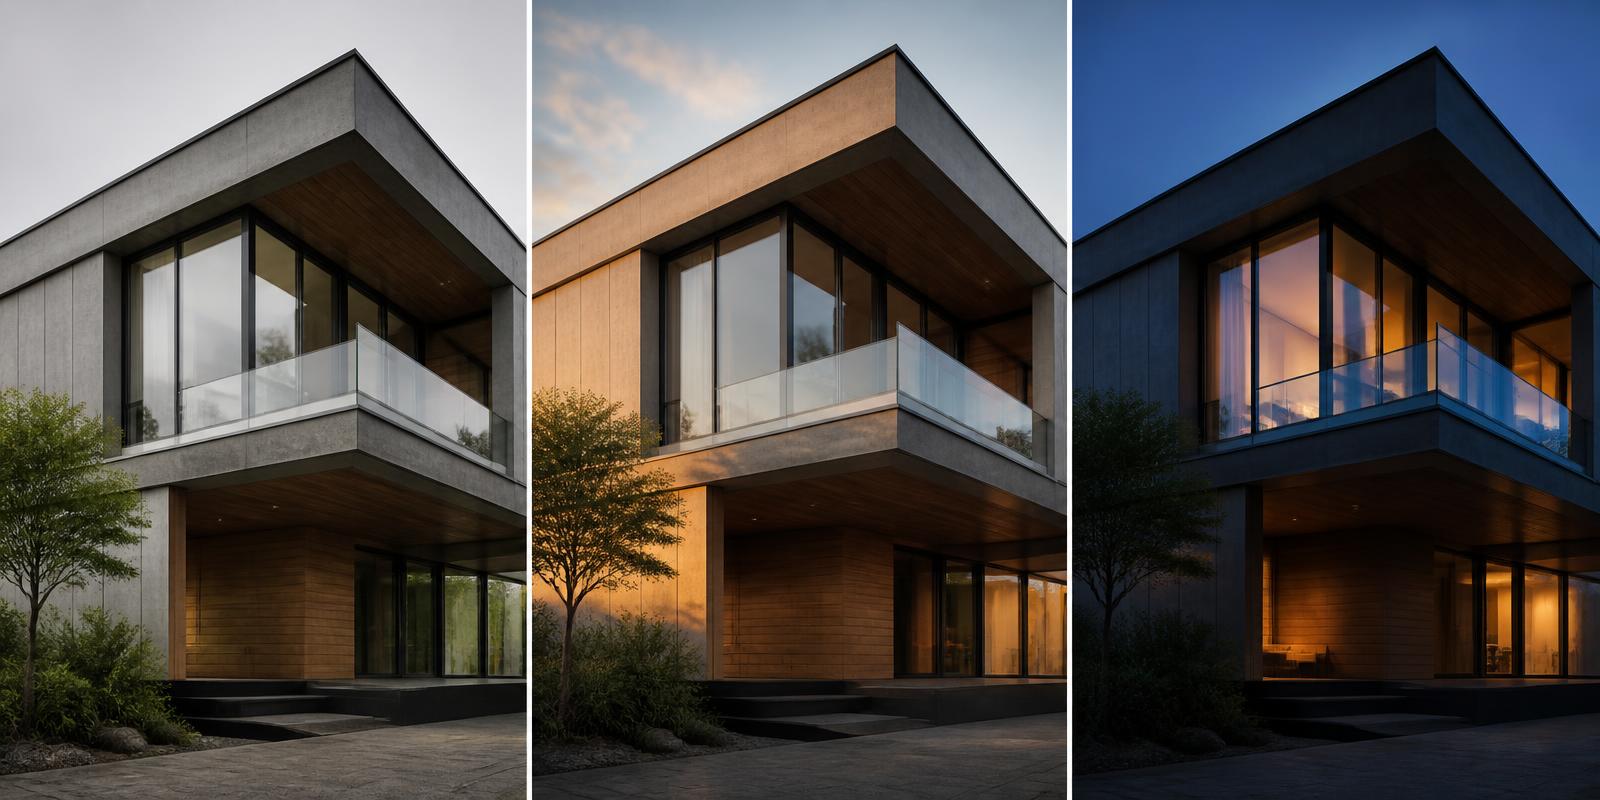
- Overcast daylight: best for showing true material colour without harsh shadows. Prompt with "overcast northern European daylight, soft diffused shadows, neutral colour temperature".
- Golden hour: best for depth, textural relief and facade articulation. Prompt with "warm low-angle sunlight, long soft shadows, atmospheric dusk haze".
- Dusk and twilight: best for revealing occupancy and transparency. Prompt with "blue hour sky, warm 3000K interior lighting through glazing, facade uplighting, wet street reflections".
Can general AI chat tools render architecture?
General-purpose chat assistants can produce conceptual mood boards, but they fall flat against a real massing model because they do not hold spatial geometry.
| Feature | General AI chat tools | Dedicated studio AI (Gendo) |
|---|---|---|
| CAD viewport handling | Basic 2D image prompt | Structural edge and depth conditioning |
| Volumetric preservation | Alters form | Locks the spatial envelope |
| Architectural scale | Arbitrary proportions | True to human scale and CAD |
| Team collaboration | Single-user thread | Multiplayer studio Canvas |
| Data governance | Public training risk | EU-hosted, studio-owned |
General models drift geometrically, hallucinate impossible mullion patterns, trap work in private single-user threads, and often use uploads to improve public models, which is unacceptable for unreleased schemes.
Is a dedicated GPU required?
No. Cloud-native platforms take the computational load off your machine. Legacy engines still depend on workstations packed with VRAM, which means expensive cards and heavy power draw. Gendo runs generation on remote infrastructure, so a designer can fire off ten material and lighting options at once from a laptop or iPad during a client meeting and pull down results in seconds.
| Traditional local GPU rendering | Cloud AI rendering |
|---|---|
| Requires a high-end workstation GPU | Runs in any modern browser |
| Heavy local power and heat | No local compute load |
| Sequential render queues | Parallel rendering across variations |
| Local software licences | Central studio workspace with team access |
Free tools versus studio-grade platforms
Most architects start with free web generators. That works for experiments, but consumer tools fall apart in studio practice.
| Capability | Free public AI tools | Studio-grade (Gendo) |
|---|---|---|
| Output resolution | Typically 720p to 1080p | AI upscaling to 4× resolution |
| Asset privacy | Often public or used for training | Private, studio IP retained |
| Geometry lock | Generative distortion | Architectural intent preserved |
| Collaboration | Single-user interface | Multiplayer Canvas |
| Commercial licensing | Restricted or ambiguous | Full commercial rights |
Upscaling for planning submissions and client decks
Low-resolution outputs do not survive planning reviews, competitions or executive decks. Blurry mullions and smeared textures undermine the credibility of a scheme. Gendo's architectural upscaling takes any render to 4× resolution, sharpening structural edges and resolving micro-detail such as timber grain or concrete aggregate without warping straight geometry.
IP ownership, privacy and GDPR
Early-stage masterplans and confidential schemes carry real commercial risk if leaked. When your team iterates on Gendo, the studio retains full ownership of every sketch, massing block, prompt and output. Infrastructure is EU-hosted and GDPR compliant, with configurable data isolation, SSO and audit logs, and your work is never used to train models. Full detail sits on our data and control page.
Studios consistently raise the same three concerns: ownership of generated outputs, confidentiality of unannounced projects, and preservation of design intent. Studio-grade platforms address all three by combining binding data terms with geometry-aware generation.
Where to start
Take one current massing model, export a single clean viewport, and run three lighting studies and two material options on the Gendo Canvas. If it holds your geometry and reads like the scheme you designed, it belongs in your concept workflow.
If you have further questions, our FAQ for architects covers the practical details, and the design canvas overview explains how studios run reviews on one shared surface.