
SketchUp is the quickest way to get a massing or a concept into 3D. SketchUp rendering is where it slows down. There is no photoreal renderer in the box, so every convincing image means a plugin, a material pass, a lighting setup and a wait.
That is fine for a final image. It is a poor fit for early design, when you want ten options by Thursday, not one perfect render next week. This guide explains where rendering fits in a SketchUp workflow, then covers the three realistic routes. For the wider market, see our comparison of architectural rendering software.
How SketchUp fits your workflow, and where Gendo comes in
SketchUp is a surface modeller built for speed. You push and pull faces into form, group geometry into components, and save fixed camera positions as Scenes. Styles control how the model looks on screen, and LayOut turns Scenes into drawings. Most practices use it for massing, early design and client walkthroughs of a model that changes daily.
- Push/pull modelling: fast form-finding, with less precision than BIM or NURBS tools.
- Scenes: saved cameras, styles and visible tags. Exactly what you want as a repeatable render input.
- Styles and tags: let you switch off clutter and set a clean look for export.
Where Gendo fits at each stage
| Stage | In SketchUp | In Gendo |
|---|---|---|
| Massing and concept | Model options quickly, save a Scene per key view | Render each Scene to test materials, light and context |
| Design development | Refine the model, keep the same Scenes | Re-export and re-render with the same description for a like-for-like comparison |
| Client review | Present the model or LayOut sheets | Share options on the canvas and record the decision |
| Final images | Hand over the agreed model | Use the canvas record to brief the final render |
SketchUp stays the model. Gendo does not open or change the .skp file: it works from an image of a Scene. When the design changes, update the model, export the same Scene again and render it. The options, comments and decisions stay together on the Gendo canvas.
Option 1: render plugins for SketchUp
Render plugins sit inside SketchUp and are the most common route. They give the most control over materials, light and camera, at the cost of setup time and hardware. They are also the reason "sketchup plugins" is searched more than "sketchup rendering" itself.
V-Ray for SketchUp
V-Ray is the long-standing standard for photoreal stills. It is a ray tracer with deep material and lighting control, and its results are hard to beat for final marketing images. The trade-off is a learning curve: good V-Ray renders depend on careful materials, HDRI lighting and render settings. It works on CPU or GPU, and render times grow with resolution and scene complexity.
Enscape for SketchUp
Enscape is a real-time renderer. You walk through the model and see an updated image as you design, which makes it popular for design reviews and quick walkthroughs. It needs a capable dedicated graphics card, and images can look recognisably "Enscape" unless materials and entourage are tuned.
D5 Render
D5 Render links to SketchUp through a LiveSync plugin. It combines real-time ray tracing with a large asset library, and has added its own AI tools. Like Enscape, it relies on a modern GPU.
All three are strong tools. The common cost is time: assigning materials, placing lights, adding people and trees, and then iterating. That cost is worth paying for a final image. It is harder to justify for a design option that may be gone by Friday.
Option 2: exporting to Lumion or Twinmotion
Lumion and Twinmotion are standalone visualisation tools. You bring the SketchUp model across, either by file or through a live link, then build the scene: landscape, sky, people, vehicles, weather and seasons.
This route earns its place when you need animation, flythroughs or a scene full of context. Both tools are quick once a scene is built, and both have huge libraries. The cost is a second piece of software, a GPU workstation, and a scene that has to be kept in step with the model every time the design changes.
For a funding pack, a planning video or a final campaign, that is often the right call. For a weekly design review it is usually more than the moment needs.
Option 3: SketchUp AI rendering
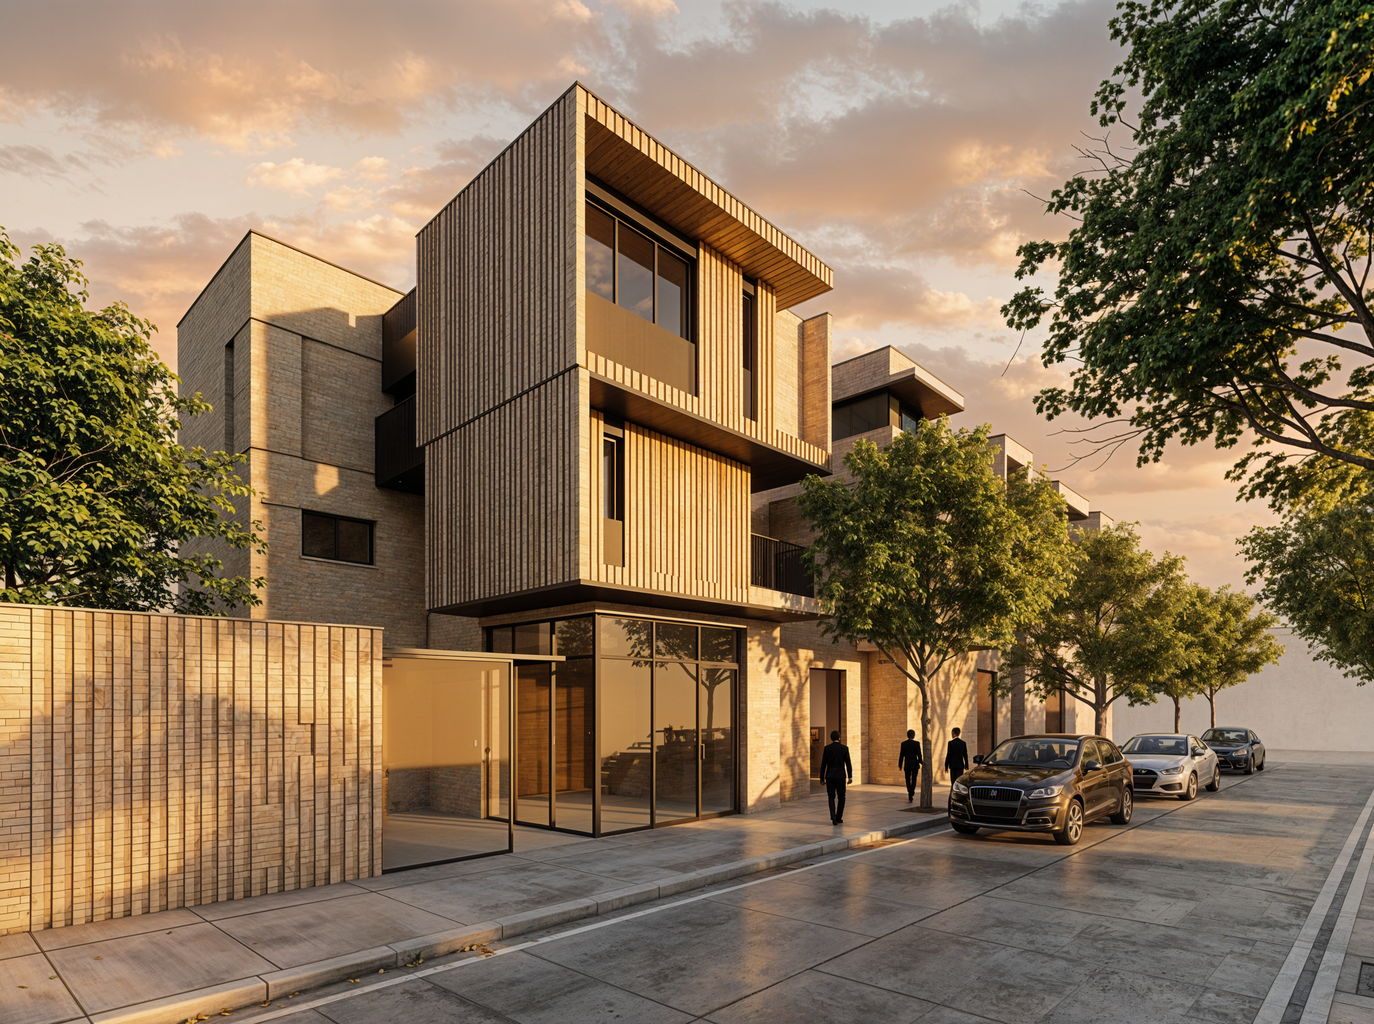
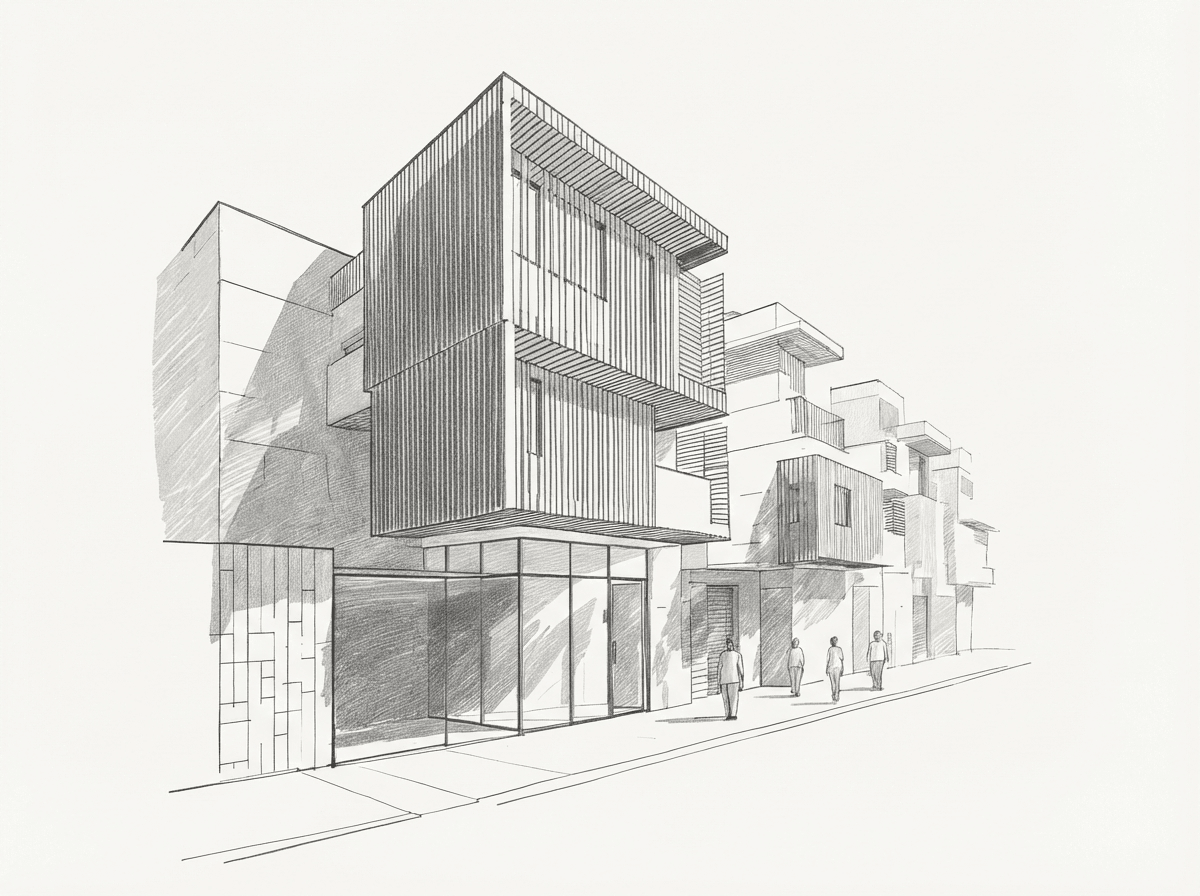
SketchUp AI rendering takes a different approach. Instead of simulating light on your geometry, an AI model reads an image of your view and generates a photoreal version of it. The input can be a viewport screenshot, a line drawing or a hand sketch.
Trimble has its own AI feature, SketchUp Diffusion, which generates styled images from the current view inside SketchUp. It is a quick way to try a mood. Practices that use it for presentations tend to want more control over what changes and what stays fixed.
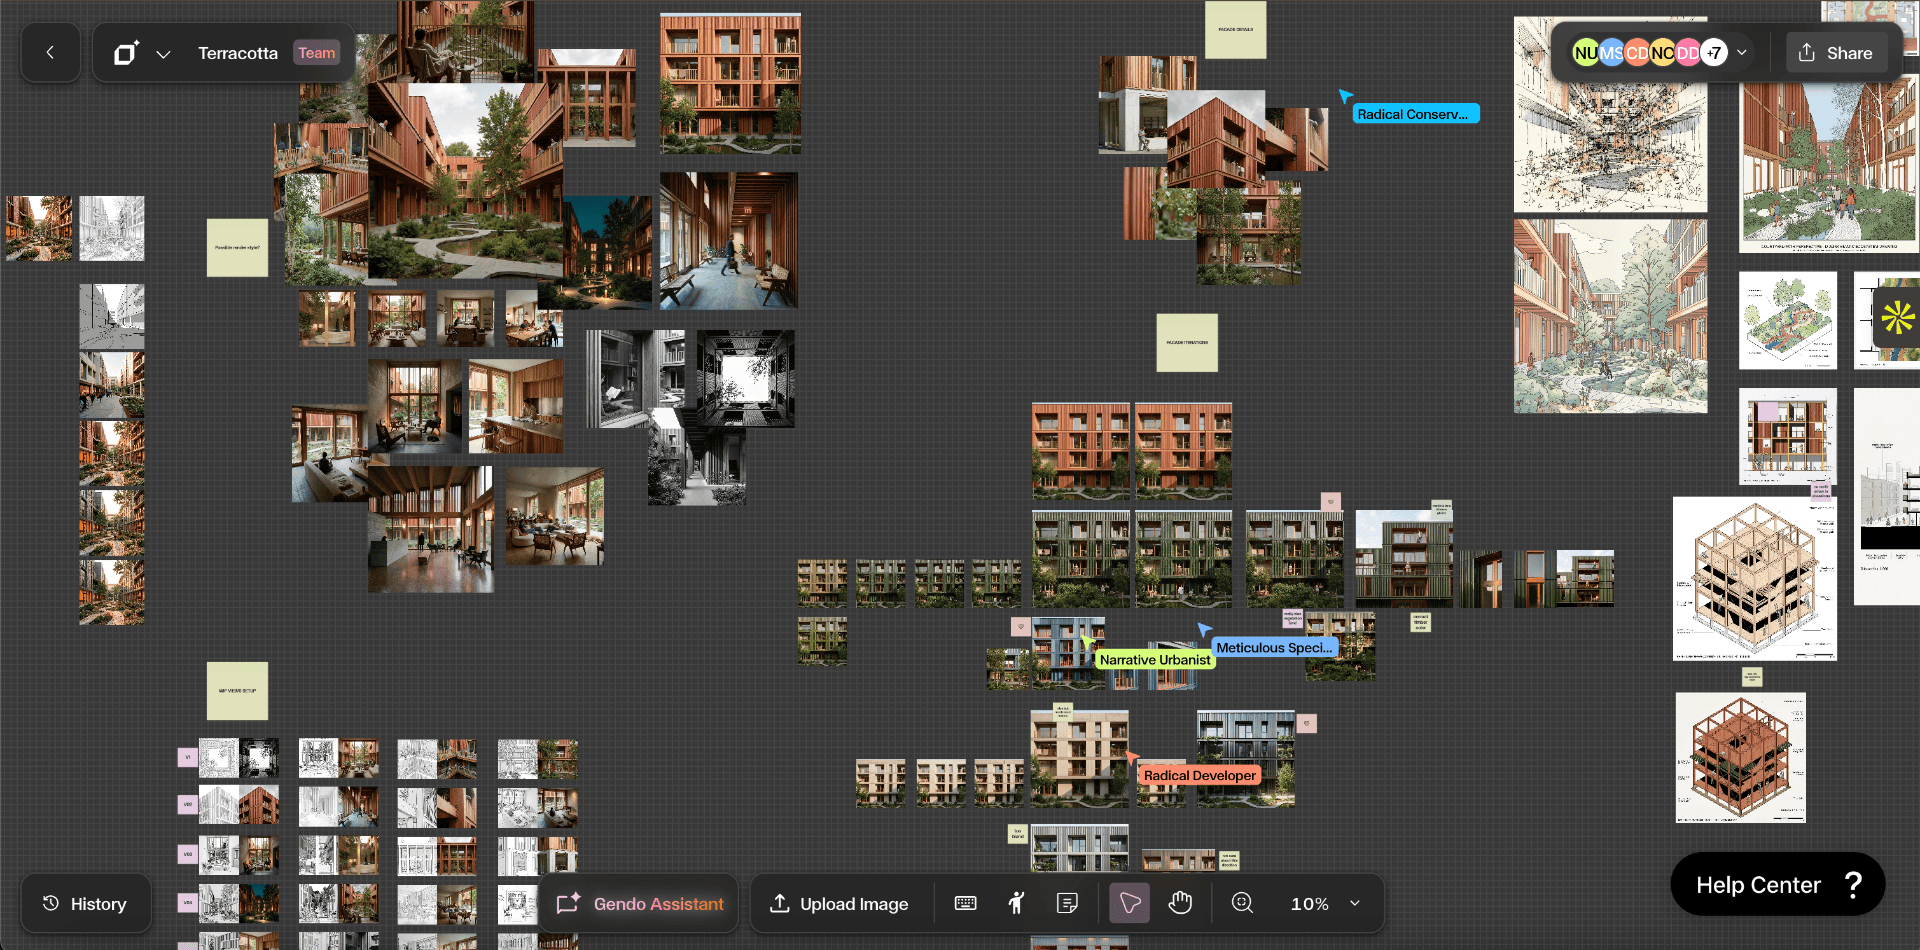
Gendo is built for that second need. A sketchup ai render in Gendo starts from your screenshot, keeps your geometry and camera, and lets you direct materials, light and context with plain language and targeted edits. Every option sits on one shared canvas, so the team and the client can compare, comment and decide in one place. Gendo runs on a private canvas. Your models, prompts and renders stay yours, and they are never used to train AI models.
From practice
"Turning SketchUp studies into true-to-life visuals, with unlimited iterations to explore materials, textures, and finishes until the concept feels real."
The honest limit: AI rendering is excellent for concept design, option studies and early client presentations. For a final, measured image where every mullion and material must be exact, a traditional engine still gives you more control.
How to render SketchUp models with Gendo
If you are wondering how to render in SketchUp without a plugin, this is the whole process:
- 1
Set up your view
Pick the camera and two-point perspective. Use a clean style: shaded with textures, edges off or light, no profiles. Hide guides, axes and section planes.
- 2
Screenshot and upload
Export a 2D graphic or take a screenshot at a decent size, then upload it to Gendo. No file export or plugin needed.
- 3
Describe and render
Describe materials, lighting, time of day and mood. Generate, then refine or branch into options side by side.
The same approach works for hand drawings, which is covered in more depth on our sketch to render page.
Tips for better SketchUp AI renders
- Camera first. Eye-level views at around 1.6m read as real. Correct verticals with two-point perspective.
- Simple materials help. Flat colours that hint at the material (warm for timber, grey for concrete) guide the result better than busy default textures.
- Keep key geometry visible. The AI respects what it can see. If a canopy matters, make sure it is clear in the view.
- Add rough entourage in the model where scale matters, or ask for people and planting in the prompt.
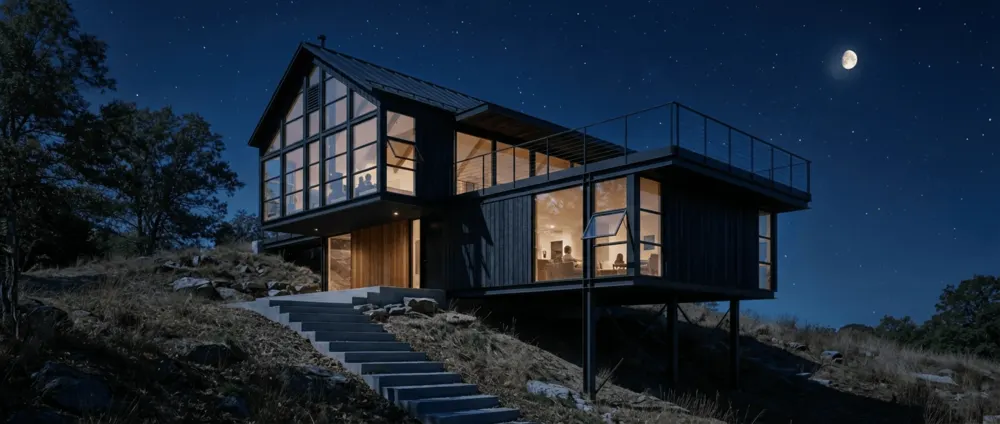
- Make day and night versions from the same view to test the scheme in different light.
- For gardens and public realm, see how Gendo handles planting and terrain in AI landscape design.
Why studios choose Gendo for SketchUp rendering
Most SketchUp images are needed at design stage, for options, reviews and client meetings. That is where Gendo is the strongest choice.
- No setup. Work from a screenshot. No plugin, no material library, no lighting rig, no render farm.
- Minutes, not hours. Generate a photoreal image, then branch it into material, light and context options while the design is still moving.
- Your geometry, kept. Gendo holds the camera and massing from your Scene, and targeted edits change only the area you select.
- One canvas, not a folder of exports. Variations, comments and client decisions sit side by side, so everyone knows which option was agreed and why.
- Private by default. Your models, prompts and renders stay yours and are never used to train AI models.
- Any machine. It runs in the browser, so every seat in the studio works the same, with no GPU upgrades.
SketchUp rendering methods compared
| Method | Setup time | Hardware | Render time | Best for | Cost |
|---|---|---|---|---|---|
| Gendo (recommended) | None | Any browser | Minutes | Concept options, client reviews | Free plan; Studio from £79/month for 5 seats |
| V-Ray for SketchUp | Hours per scene | Strong CPU or GPU | Minutes to hours | Final photoreal stills | Paid subscription |
| Enscape / D5 | An hour or more | Dedicated GPU | Real time | Design reviews, walkthroughs | Paid subscription (D5 has a free tier) |
| Lumion / Twinmotion | Hours per scene | GPU workstation | Real time to minutes | Animation, rich context | Paid licence |
| SketchUp Diffusion | None | Cloud | Seconds to minutes | Quick mood tests | Included with some SketchUp plans |
Competitor plans change often, so check current pricing with each vendor before you budget.
Conclusion
For most SketchUp work, Gendo is the fastest route from model to a client-ready image: upload a screenshot, get photoreal options in minutes and agree the direction on one canvas. Keep a traditional engine for the occasional final image that needs exact control. In our September 2026 survey, 85% of paying Gendo users said they use it for client-facing work (147 respondents), and 36% had used Gendo visuals in a planning application (117 respondents).
For how Gendo compares with the rest of the market, read our guide to architectural rendering software. Or start on the Free plan and render your next SketchUp view today.