
Rhino, and Grasshopper in particular, lets you generate form options faster than almost any other tool. Rhino rendering has not kept pace. Each option still needs materials, lights and a render, so visualisation becomes the slowest part of a fast parametric workflow.
This guide explains how Rhino and Grasshopper work in practice, where Gendo fits, and how the rendering options compare. For the wider market, see our comparison of architectural rendering software.
How Rhino fits your workflow, and where Gendo comes in
Rhino is a NURBS modeller. It describes curves and surfaces mathematically, so it handles precise freeform geometry that BIM tools struggle with. Grasshopper, built into Rhino, adds visual programming: you define the rules for a form, then change parameters to generate variations. Rhino is common for complex facades, roofs, competition work and fabrication.
- NURBS geometry: accurate freeform surfaces, from concept to fabrication.
- Grasshopper: parametric scripts that produce many options from one definition.
- Named views and display modes: repeatable cameras and clean visual styles for capture.
Where Gendo fits at each stage
| Stage | In Rhino | In Gendo |
|---|---|---|
| Form-finding | Generate iterations in Grasshopper from one definition | Capture each iteration from the same named view and render them as a set |
| Option selection | Narrow the parameters | Compare rendered options side by side and comment on each |
| Design development | Bake the chosen geometry and refine it in Rhino | Re-render the refined model with the same description |
| Hand-off | Export to BIM or fabrication | Keep the canvas as the record of which option was chosen and why |
Rhino and Grasshopper stay where the geometry lives. Gendo does not read the .3dm or .gh file: it works from a viewport capture. That makes it quick to see what a parameter change means visually without rebuilding a render scene for every variation.
Rendering with Rhino's built-in renderer
Current versions of Rhino include Rhino Render, a path tracer based on Cycles, alongside the Raytraced display mode for an interactive view. It is included in the licence, works with Rhino materials and environments, and is perfectly capable for product-style shots and simple scenes.
Its limits show on architectural scenes. Landscape, people, vegetation and convincing context are not built in, so good results mean sourcing assets and spending time on lighting. Quality settings and scene complexity drive render time.
Rhino render plugins
The main rhino plugins for rendering:
- V-Ray for Rhino: the standard for photoreal architectural stills, with Grasshopper components for automation. Powerful, with a learning curve.
- Enscape for Rhino: real-time, easy to learn and good for reviews. Needs a dedicated GPU.
- KeyShot: excellent for objects and products, with strong materials. Less suited to large architectural context.
- D5 Render: LiveSync from Rhino with a big asset library and real-time ray tracing. GPU-dependent.
Each one produces a better rhino render than the default for final images. The issue for parametric teams is repetition: twenty Grasshopper variations mean twenty scenes to light, check and render.
Rhino AI rendering for parametric design
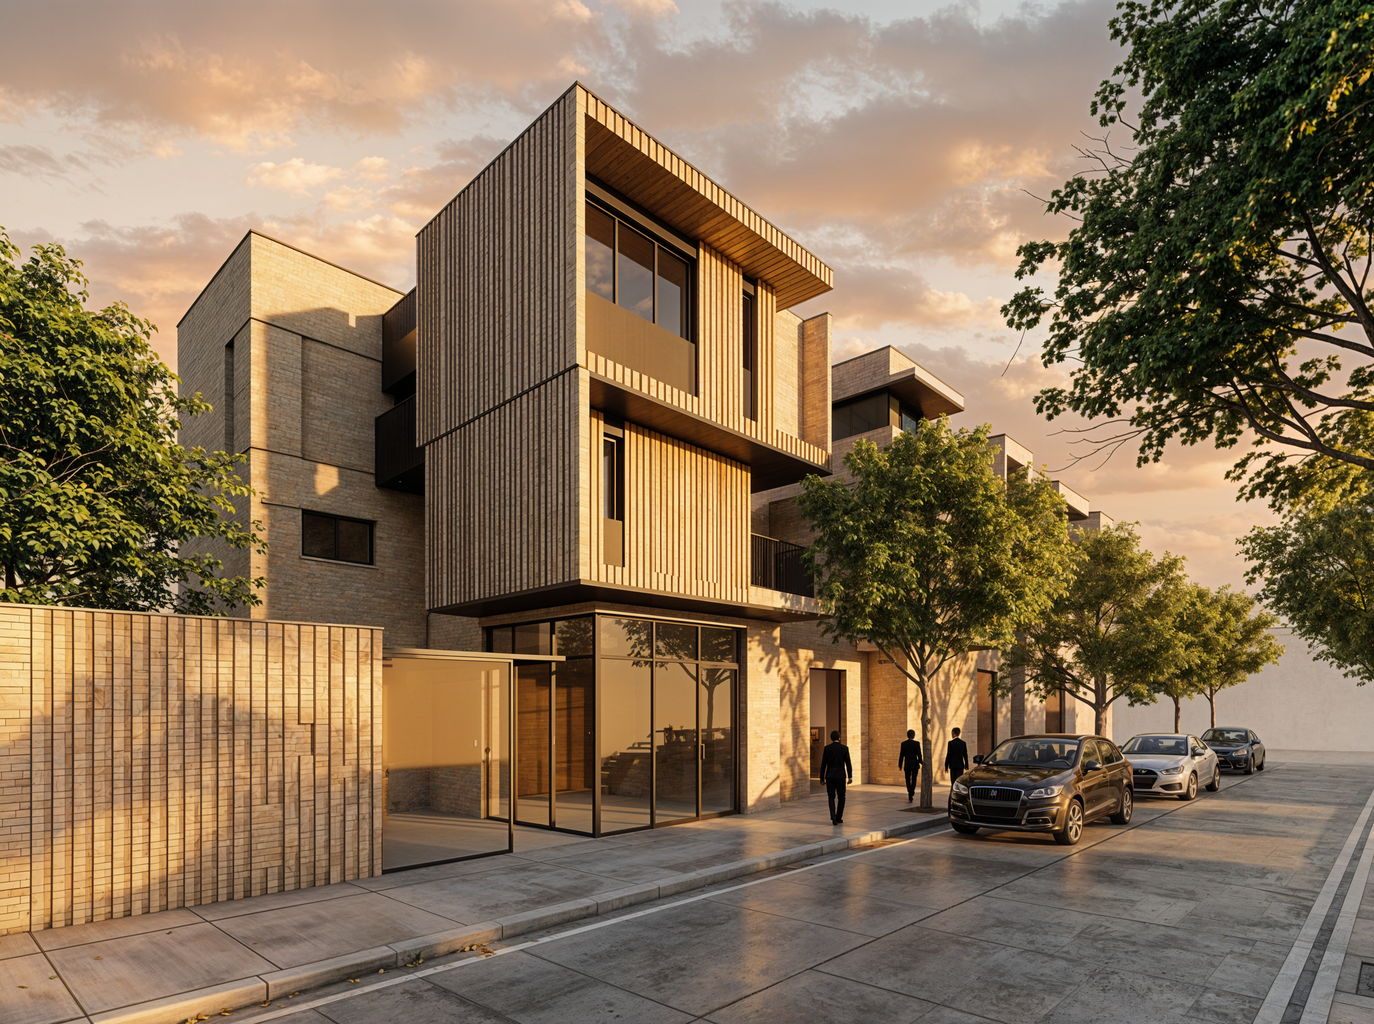
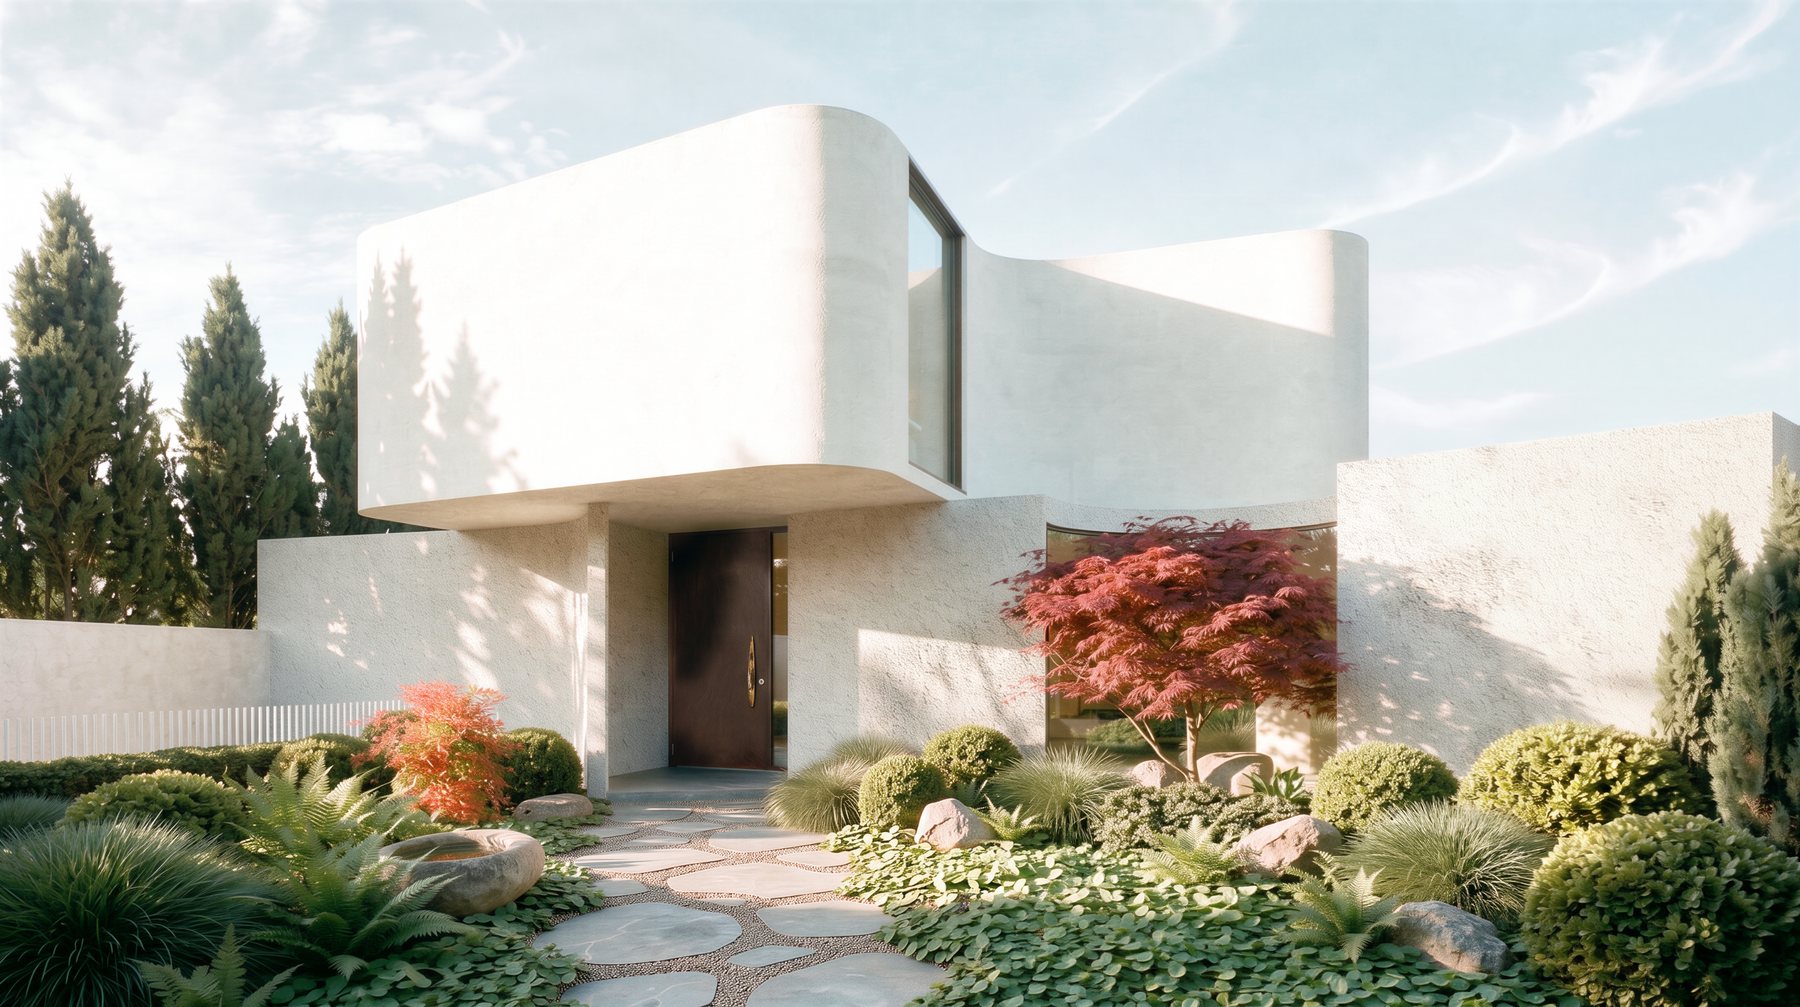
Rhino AI rendering flips the order of work. Instead of preparing a scene for each option, you capture each iteration's viewport and render the images. Gendo keeps the geometry and camera from the capture and adds materials, context and light from your description.
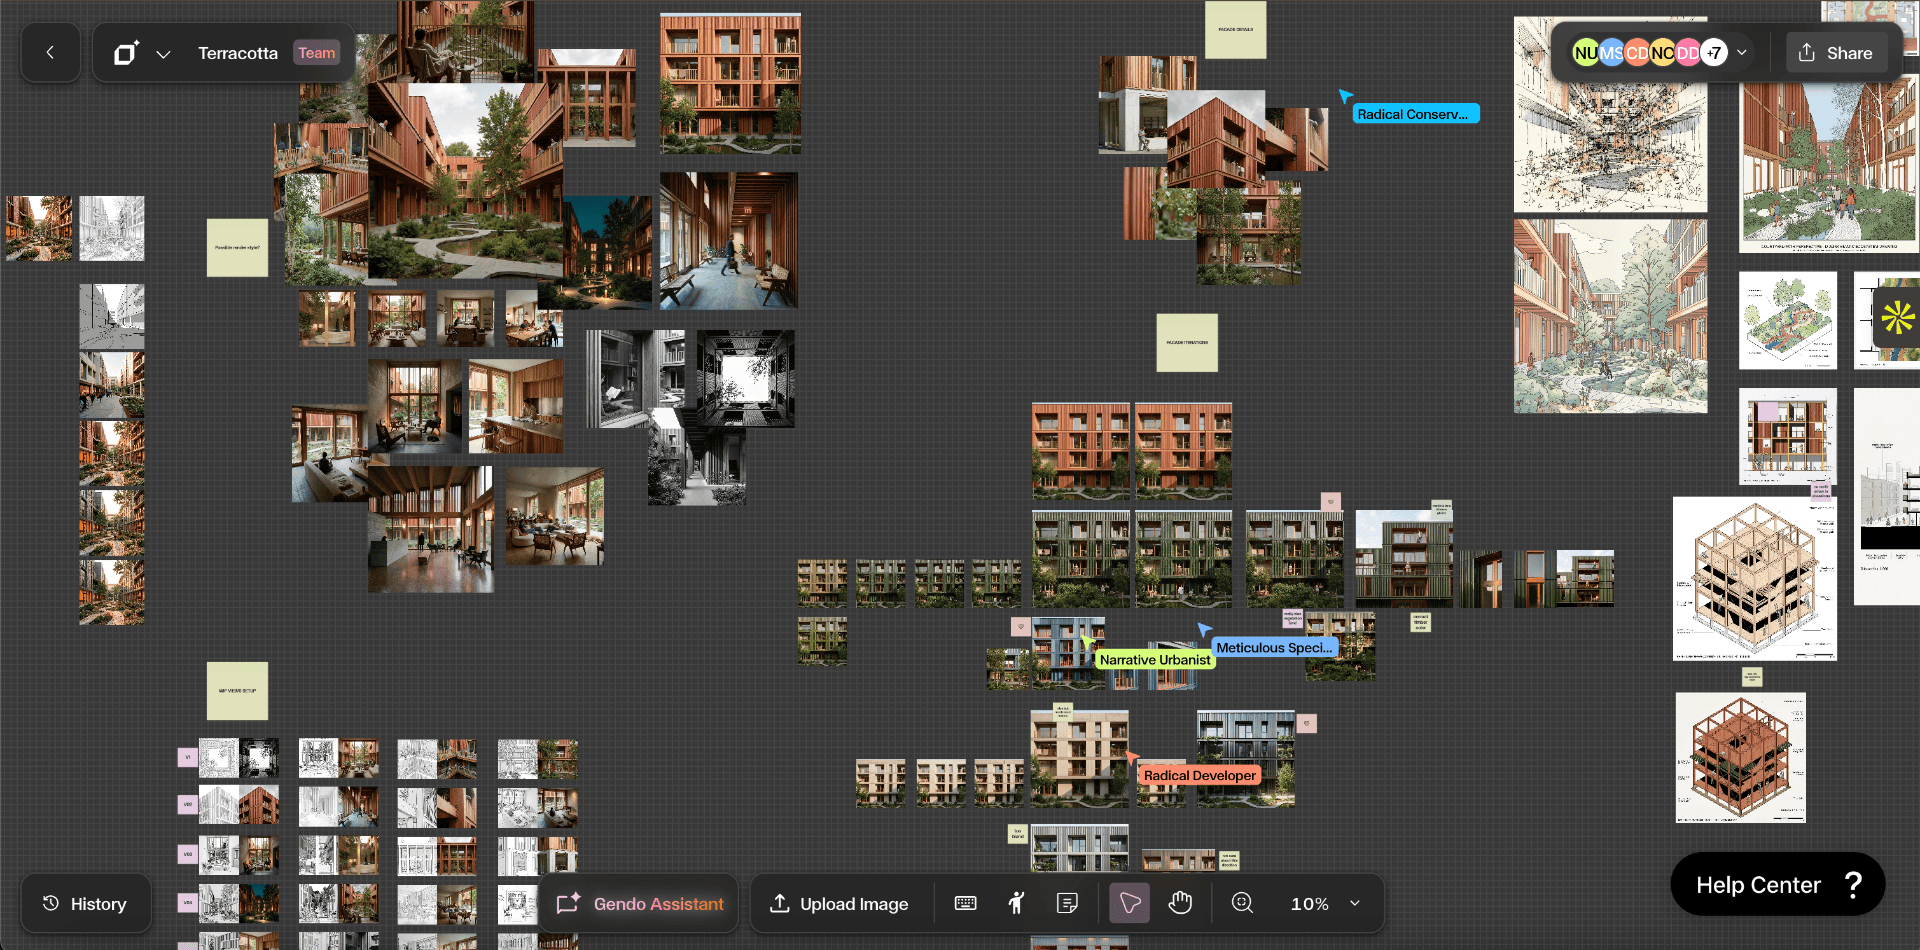
That suits Grasshopper well. Capture a set of iterations from the same camera, render them in Gendo, and lay them out side by side on one canvas. Each render takes minutes, so a set of options is ready while one traditional scene would still be in setup. The team can comment directly on each option and record which one goes forward.
The term "rhino ai" also covers AI inside Rhino itself, such as scripting assistants and machine-learning components for Grasshopper. Those help you generate geometry. Gendo helps you see and choose between it. Gendo runs on a private canvas. Your models, prompts and renders stay yours, and they are never used to train AI models.
From practice
"An amazing web based app to speed up visualisation, test ideas and convince clients of your vision."
How to render Rhino models with Gendo
How to render in Rhino with AI, in three steps:
- 1
Set up the viewport
Use Shaded, Arctic or Pen display. Choose a perspective with a sensible lens (around 35 to 50mm). Bake or cleanly preview Grasshopper geometry.
- 2
Capture and upload
Use ViewCaptureToFile or a screenshot at a good resolution, then upload the image to Gendo.
- 3
Describe and render
Describe facade materials, landscape, sky and people. Generate, then compare options on the canvas.
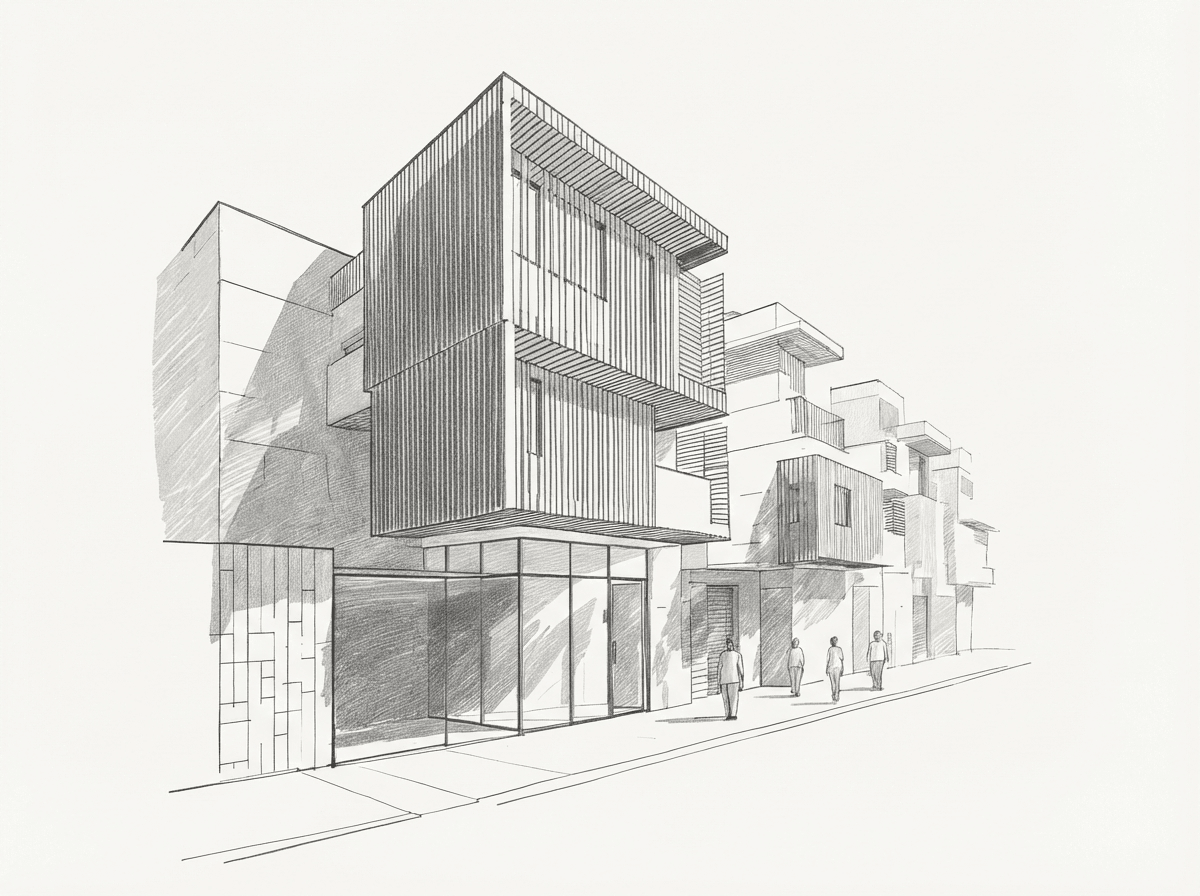
Arctic mode often gives the cleanest result, because soft shadows describe form without distracting colours. Line-based Pen views work well too, in the same way as our sketch to render workflow.
Workflow tip: consistent comparison sheets from Grasshopper
To compare iterations fairly, keep everything except the design constant:
- Save a named view in Rhino and capture every iteration from it.
- Use the same description for each render: materials, time of day, context.
- Place the results side by side on the Gendo canvas and annotate the differences.
- Take the preferred option forward to V-Ray or Enscape if a final image is needed.
When a traditional renderer is still the right choice
AI rendering is not the answer to every brief, and it is worth being clear about where it stops. Choose a traditional engine or a specialist studio when:
- Images must be measured. Verified views, rights-of-light studies and accurate visual representations need survey-matched cameras and a documented method.
- Every detail is contractual. Final marketing images for sales or funding, where each material and fixing must be exactly as specified.
- You need animation. Flythroughs and walkthroughs remain the territory of real-time engines and 3ds Max.
- The scene will be reused for months. A carefully built scene pays back when the same model is rendered again and again.
For Rhino teams, that often means AI for the comparison sheet and V-Ray for the chosen option. In practice the two approaches work together: AI to explore and agree a direction quickly, then a traditional engine for the images that need full control. The decision trail from the canvas tells whoever builds the final scene exactly what was agreed, which avoids a round of rework.
Why studios choose Gendo for Rhino rendering
Most Rhino images are needed at design stage, for options, reviews and client meetings. That is where Gendo is the strongest choice.
- No setup. Work from a viewport capture. No plugin, no material library, no lighting rig, no render farm.
- Minutes, not hours. Generate a photoreal image, then branch it into material, light and context options while the design is still moving.
- Your geometry, kept. Gendo holds the camera and massing from your viewport, and targeted edits change only the area you select.
- One canvas, not a folder of exports. Variations, comments and client decisions sit side by side, so everyone knows which option was agreed and why.
- Private by default. Your models, prompts and renders stay yours and are never used to train AI models.
- Any machine. It runs in the browser, so every seat in the studio works the same, with no GPU upgrades.
Rhino rendering methods compared
| Method | Setup time | Hardware | Render time | Best for | Cost |
|---|---|---|---|---|---|
| Gendo (recommended) | None | Any browser | Minutes | Many iterations, client reviews | Free plan; Studio from £79/month for 5 seats |
| Rhino Render | Moderate | Your workstation | Minutes to hours | Simple scenes, objects | Included with Rhino |
| V-Ray for Rhino | Hours per scene | Strong CPU or GPU | Minutes to hours | Final photoreal stills | Paid subscription |
| Enscape / D5 | An hour or more | Dedicated GPU | Real time | Reviews, walkthroughs | Paid subscription |
| KeyShot | Moderate | CPU or GPU | Minutes | Product and object shots | Paid licence |
Competitor plans change often, so check current pricing with each vendor before you budget.
Conclusion
For most Rhino work, Gendo is the fastest route from model to a client-ready image: upload a viewport capture, get photoreal options in minutes and agree the direction on one canvas. Keep a traditional engine for the occasional final image that needs exact control. In our September 2026 survey, 85% of paying Gendo users said they use it for client-facing work (147 respondents), and 36% had used Gendo visuals in a planning application (117 respondents).
For how Gendo compares more widely, read our guide to architectural rendering software. Or start on the Free plan and render your next set of Grasshopper options.