Using the Style Panel
Transform the visual appearance of an image while preserving the architectural structure.
What is the Style Tool?
The Style tool allows you to transform the visual appearance of an image while preserving the architectural structure of the design. Instead of modifying materials or geometry, the Style tool changes the overall aesthetic representation of the image. This is useful when you want to present the same project in different visual styles such as architectural sketches, artistic illustrations, conceptual diagrams, or stylized renderings. The building geometry, layout, and proportions remain consistent while the visual presentation changes.
Understanding the interface
The Style Panel
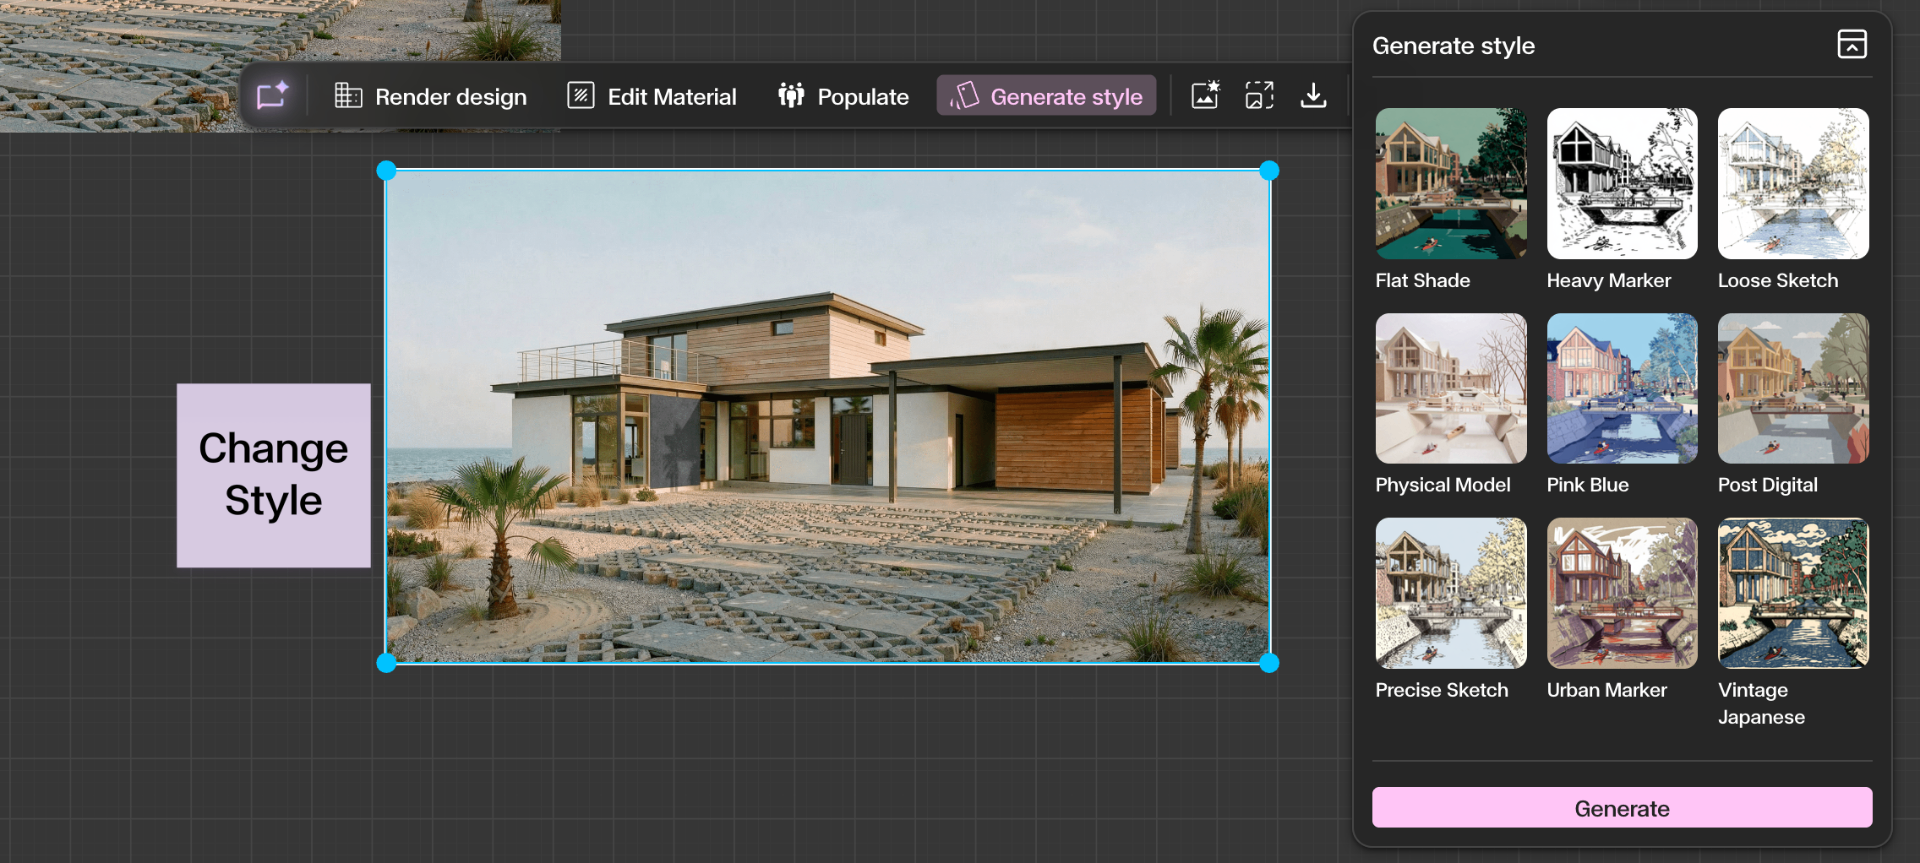
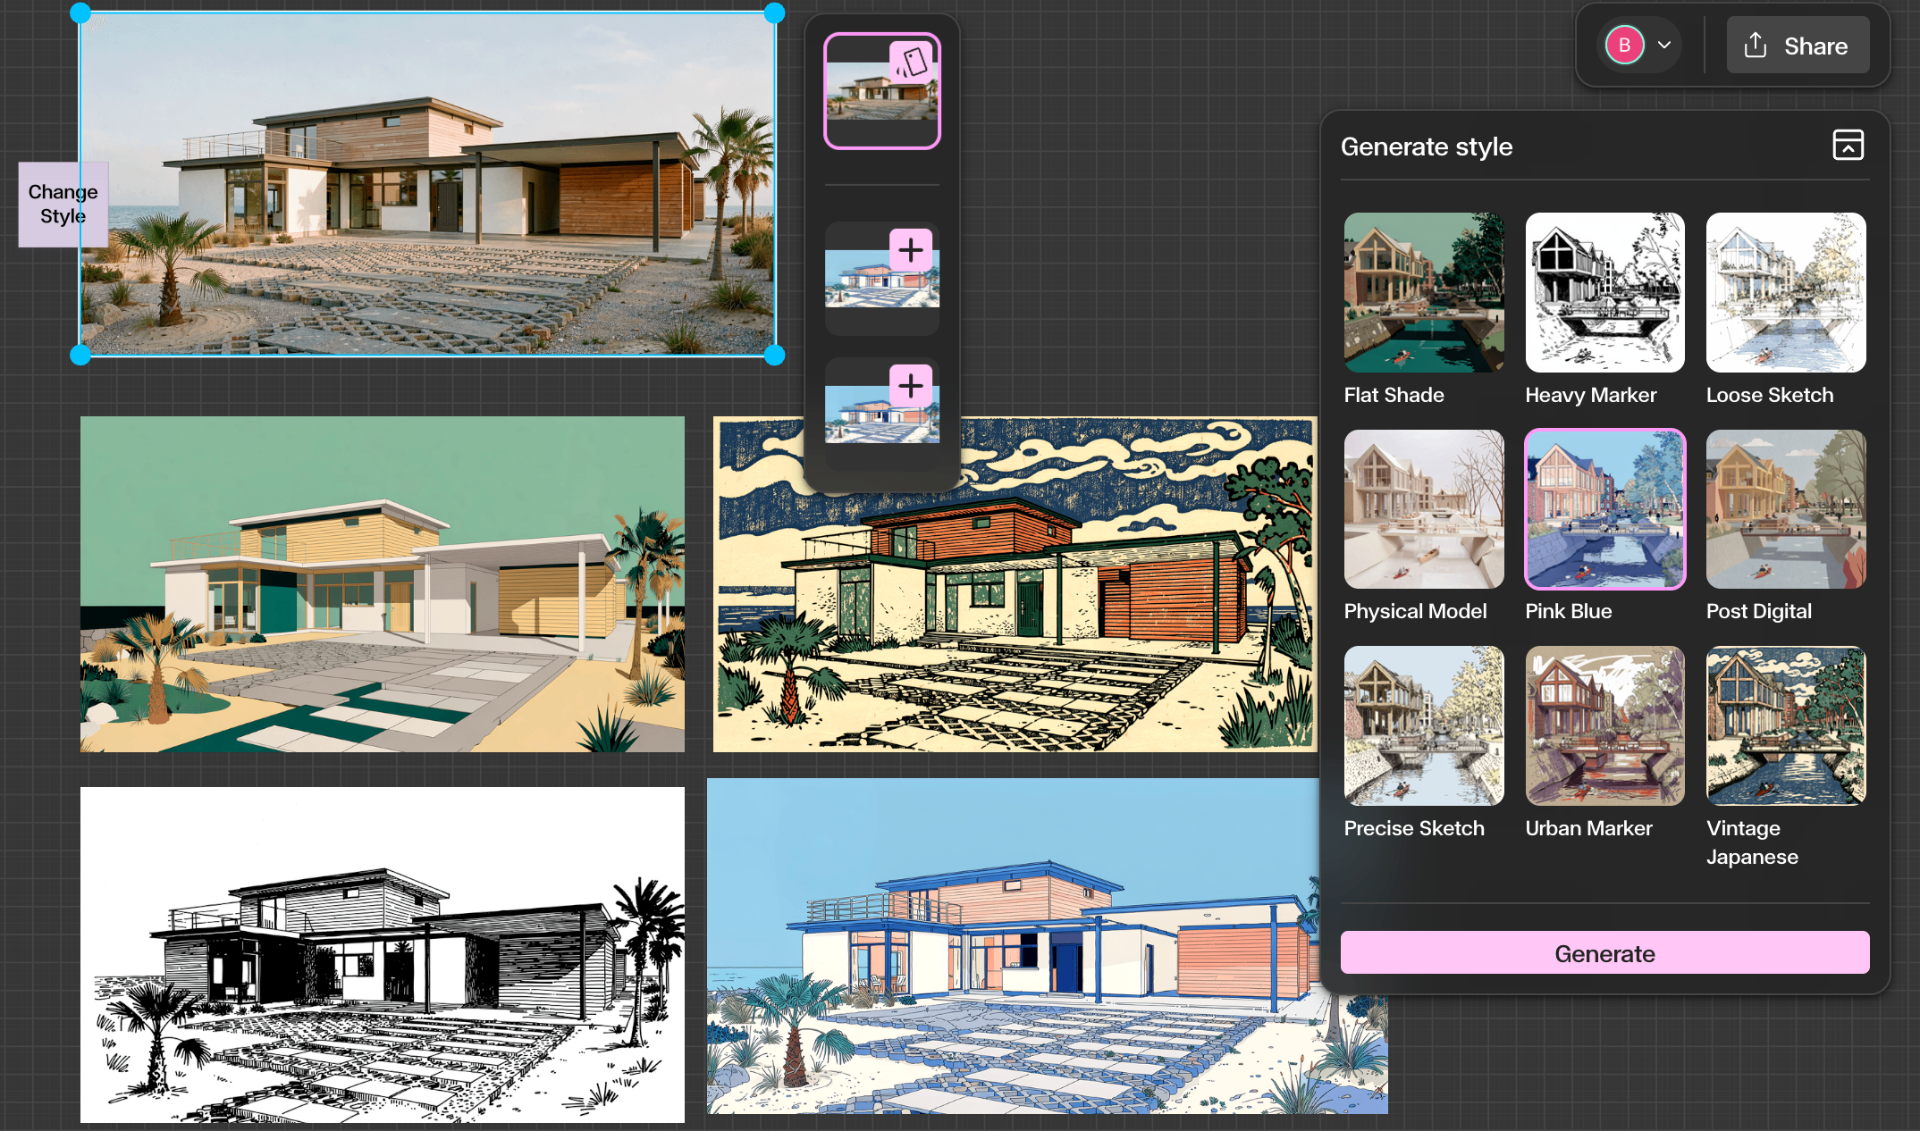
When you click Generate Style, the Style panel opens on the right side of the canvas. The panel presents a grid of preset styles that allow you to control how the image will be stylized.
Preset styles include: Flat Shade, Heavy Marker, Loose Sketch, Physical Model, Pink Blue, Post Digital, Precise Sketch, Urban Marker, Vintage Japanese. Each preset represents a different artistic or visual interpretation of the architecture.
Below the style grid you will see the Generate button. Select a preset that matches the aesthetic direction you want, then generate to create a new stylized version of the image.
Step by Step
Select an image and click Generate Style
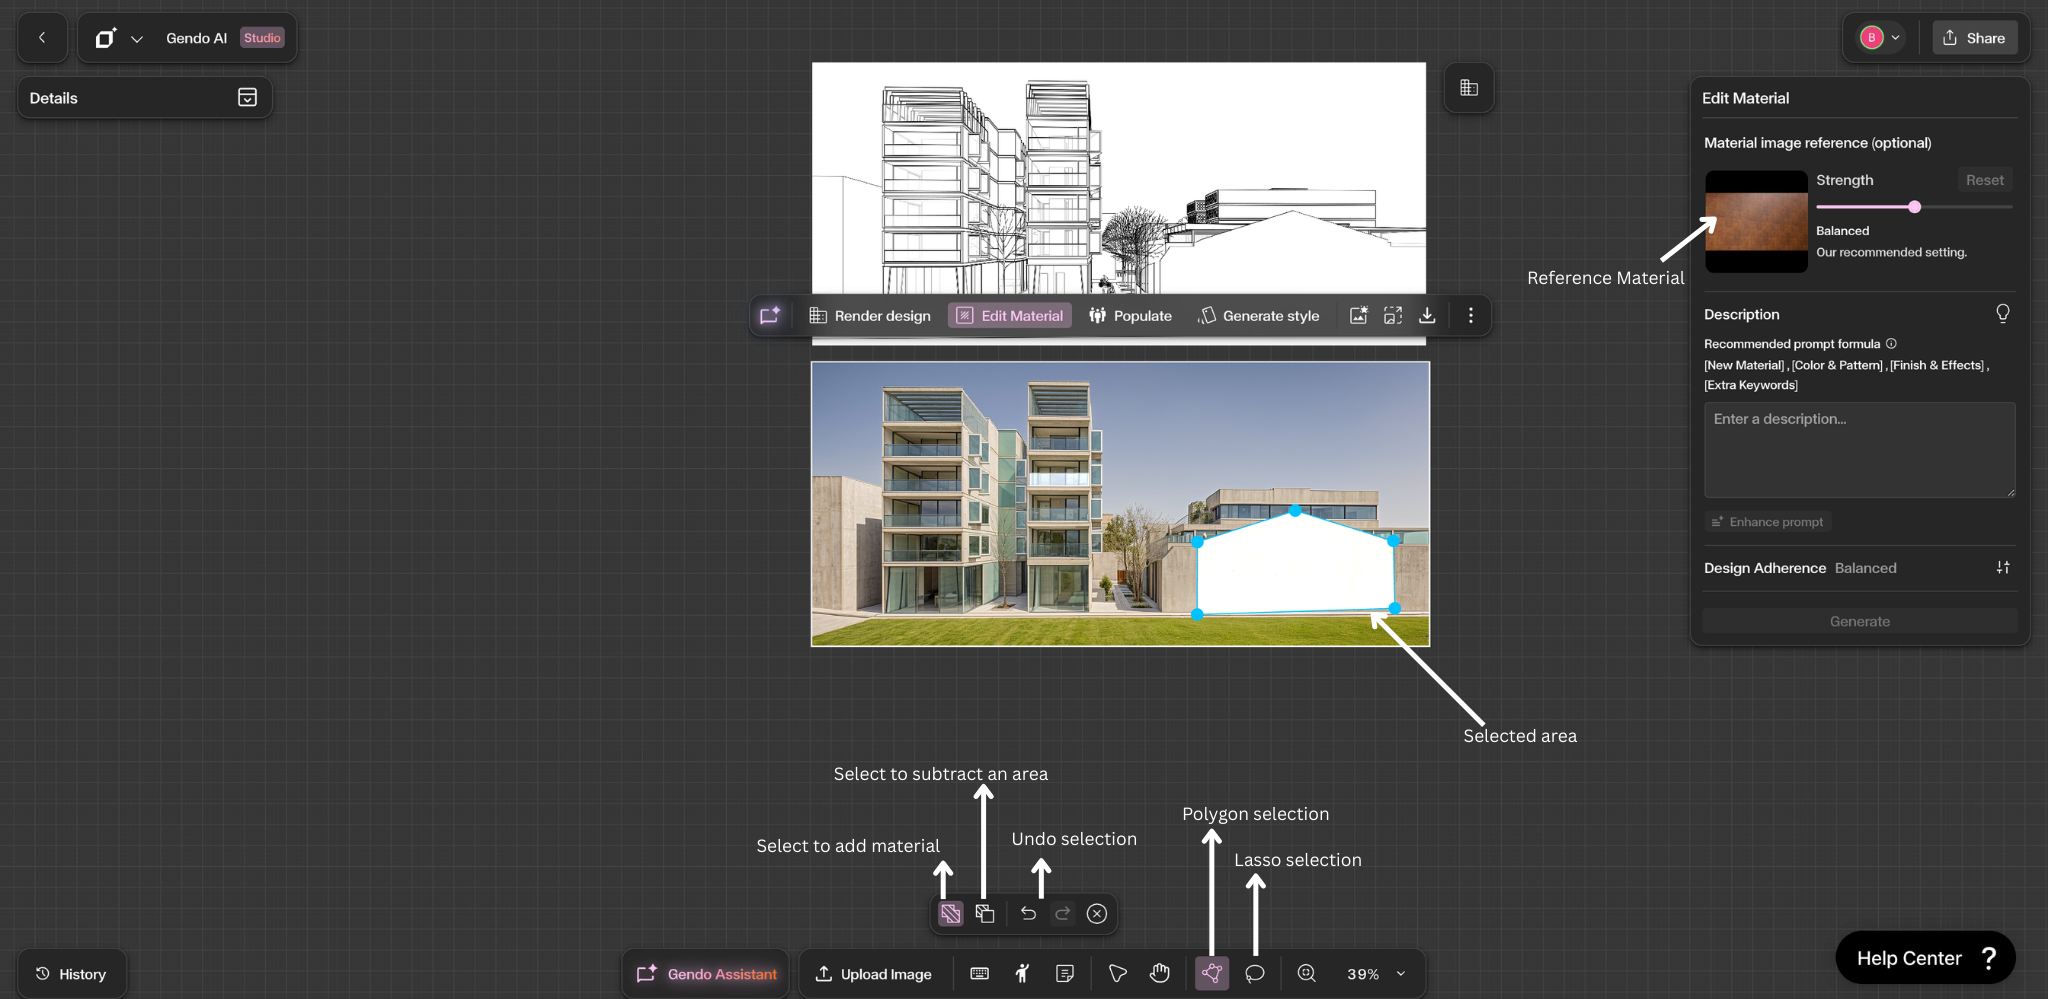
Select an image on the canvas to reveal the contextual toolbar. You must have an image selected for the toolbar to appear. Click **Generate Style** from the toolbar and the Style panel will open on the right-hand side of the canvas, presenting the full grid of preset styles you can choose from.
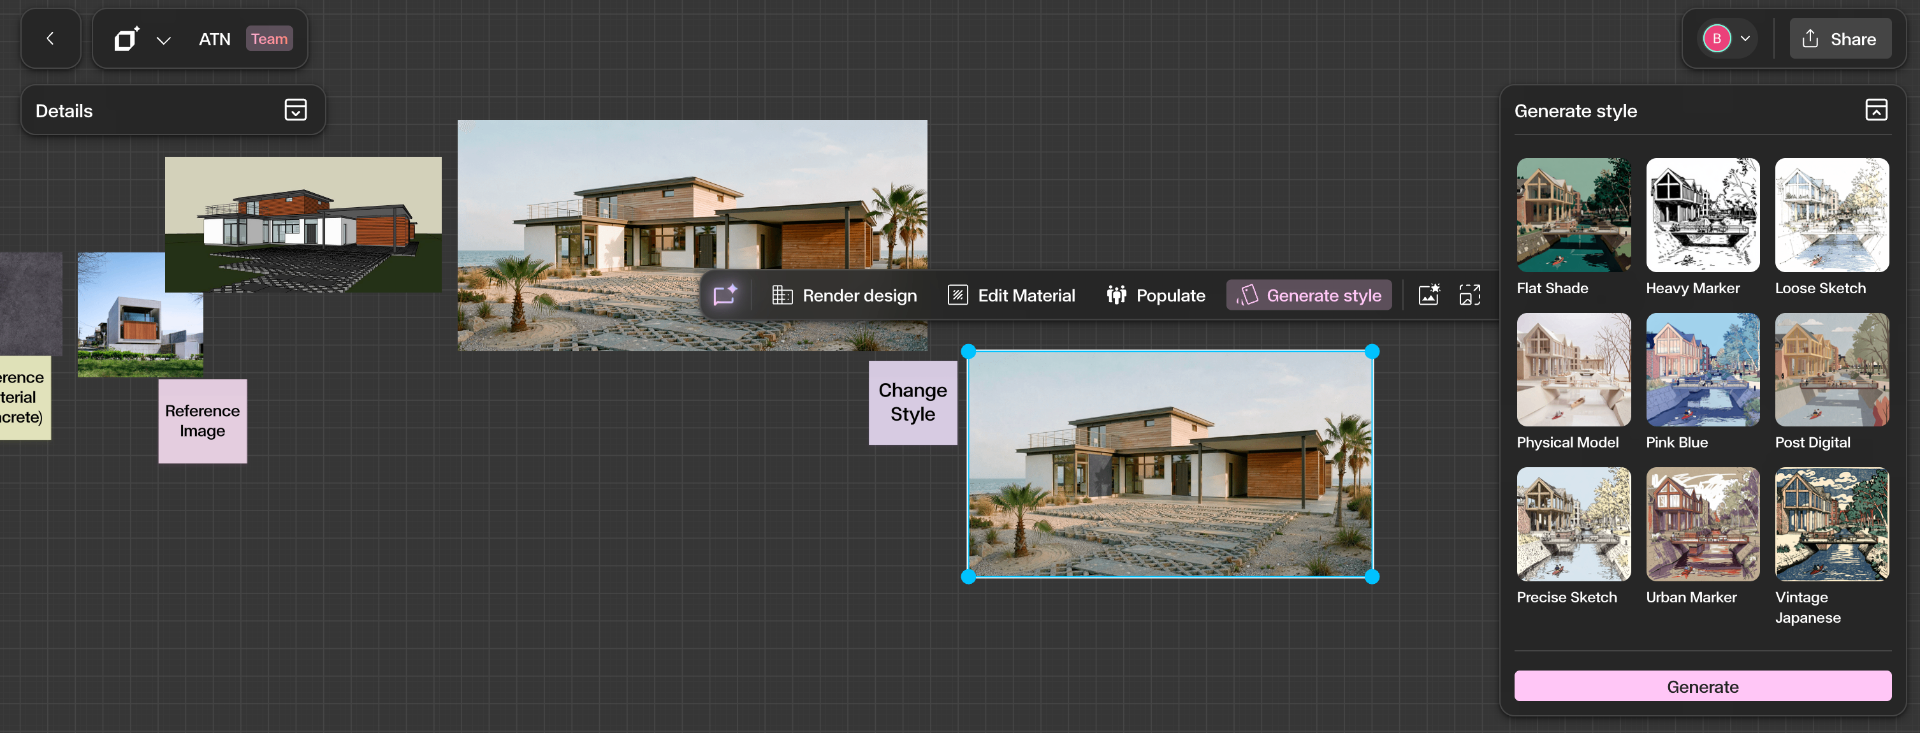
Choose a preset style and click Generate
Select a preset style from the grid on the right-hand panel. There is no prompt to write and no additional settings to adjust — simply choose the style you want and hit **Generate**. Each preset is powered by a dedicated model optimised for that specific aesthetic, which yields the best possible output. A new stylized version of the image will be generated while the original remains unchanged.
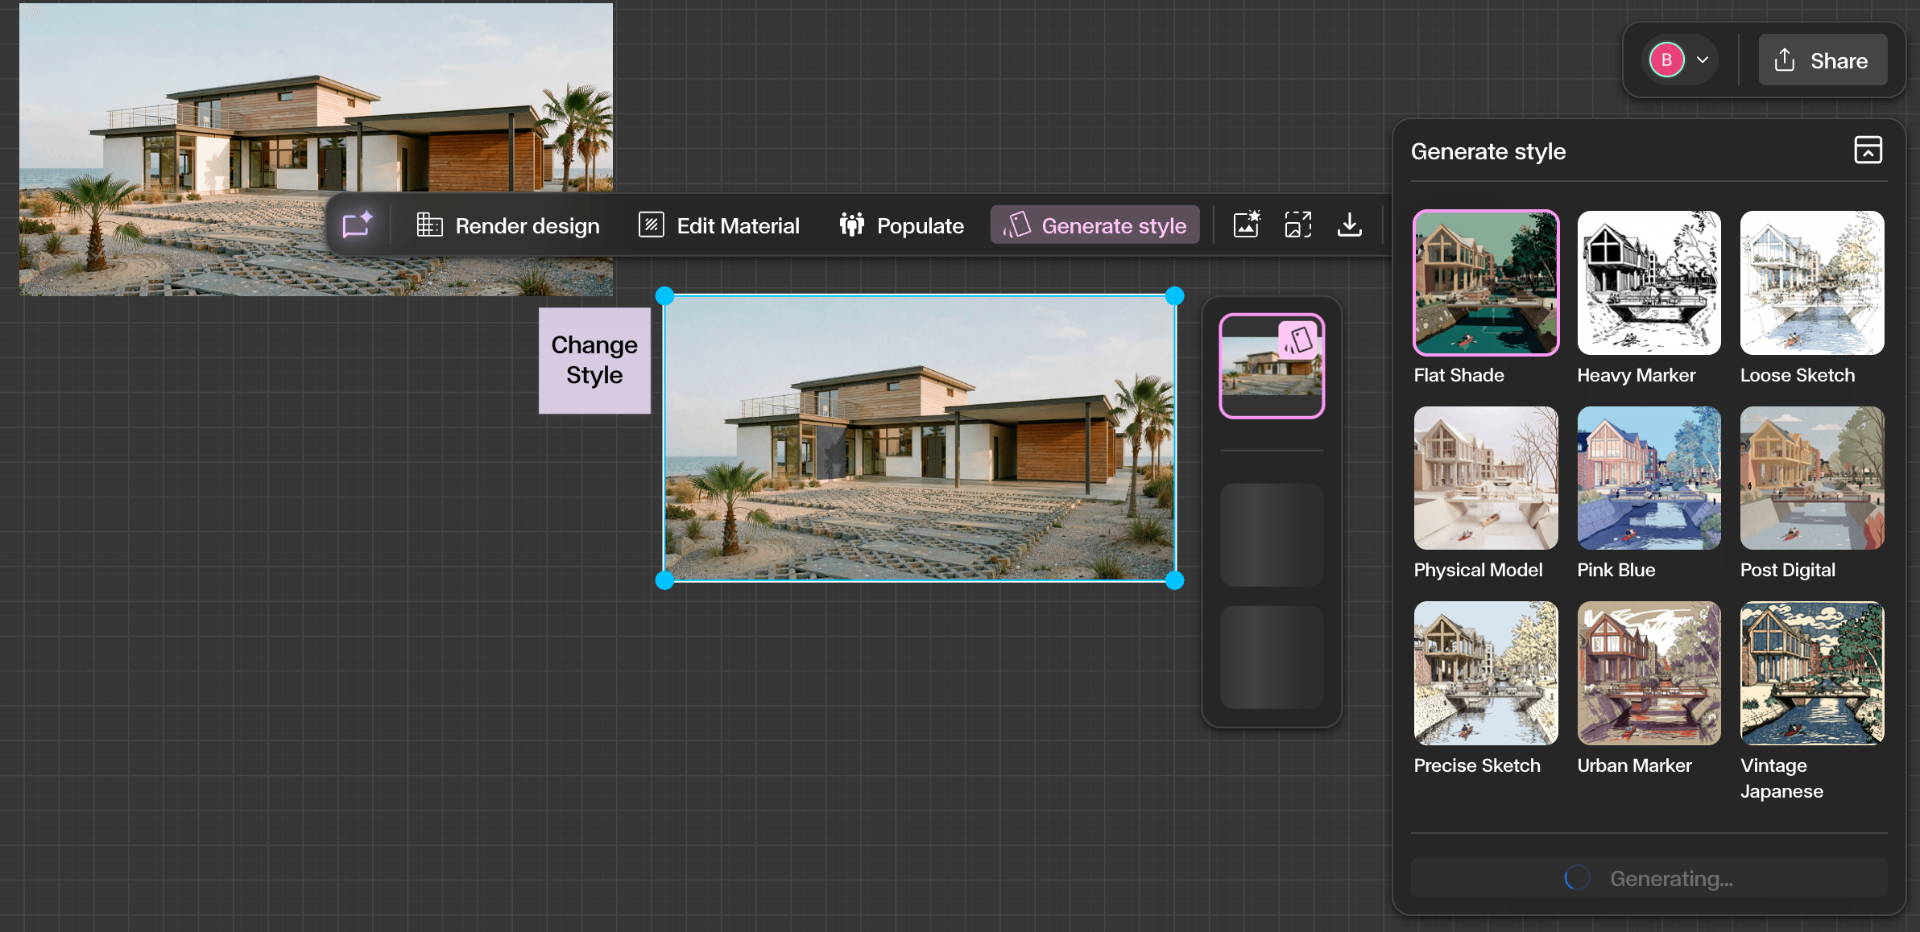
Iterate and explore multiple styles
Click the **+** button to add a generated style to the canvas. You can then select the same source image again and generate a different style. Keep iterating until you find the aesthetic you want — or generate every preset to see the same design rendered across multiple styles.
Get Better Results
Choose a preset style that closely matches the aesthetic you want.
Generate multiple styles to compare different visual directions.
The Style tool preserves building geometry, layout, and proportions while only changing visual presentation.